

Quick answer: Easy melt beads ideas include keychains, coasters, bookmarks, Christmas ornaments, magnets, pixel characters, jewelry charms, sun catchers, mini animals, and simple wall art. Most start on a pegboard, get covered with parchment paper, and are fused with a medium-heat iron for a short time on each side.
Melty beads (also called Perler, Hama, or fuse beads) are small plastic cylinders that soften and stick together when heated. You place them on a pegboard in a pattern, cover with parchment paper, and iron until the beads fuse. The craft works for kids and adults, builds focus, and creates durable little objects you can actually use. Below are ten practical project ideas with clear difficulty notes and tips so you can start with simple shapes and move up when you are ready.
Quick Project Comparison
| Idea | Difficulty | Typical Size | Kid Friendly | Uses |
|---|---|---|---|---|
| Keychains | Easy | Small | Yes | Gifts, bags |
| Coasters | Easy | Medium round | Yes | Home use |
| Bookmarks | Easy | Narrow | Yes | Reading |
| Holiday ornaments | Easy | Small–medium | Yes | Tree, gifts |
| Magnets | Easy | Small | Yes | Fridge, lockers |
| Pixel characters | Medium | Varies | Older kids | Display, play |
| Jewelry charms | Medium | Tiny | With help | Necklaces, bags |
| Sun catchers | Medium | Flat sheet | Adult help | Windows |
| Mini animals | Easy | Small | Yes | Toys, gifts |
| Simple wall art | Medium | Larger board | Older kids | Decor |
Approx. bead count needed (relative scale)
Basic Melting Method
Before the project list, here is the standard way most people fuse the beads. Place your design on the pegboard. Cover with parchment paper or official ironing paper. Set a dry iron to medium heat (about the cotton setting). Move the iron in slow circles for roughly 10 to 20 seconds, then check. Flip the design carefully and fuse the other side the same way. Let it cool under a flat book so it stays even. Always work with adult help for young children and keep steam turned off.
1. Keychains
Small shapes such as hearts, stars, initials, or simple characters make excellent keychains. Fuse the design, cool it flat, then attach a metal key ring through a bead hole or with a jump ring. These finish fast and make easy gifts or party favors.
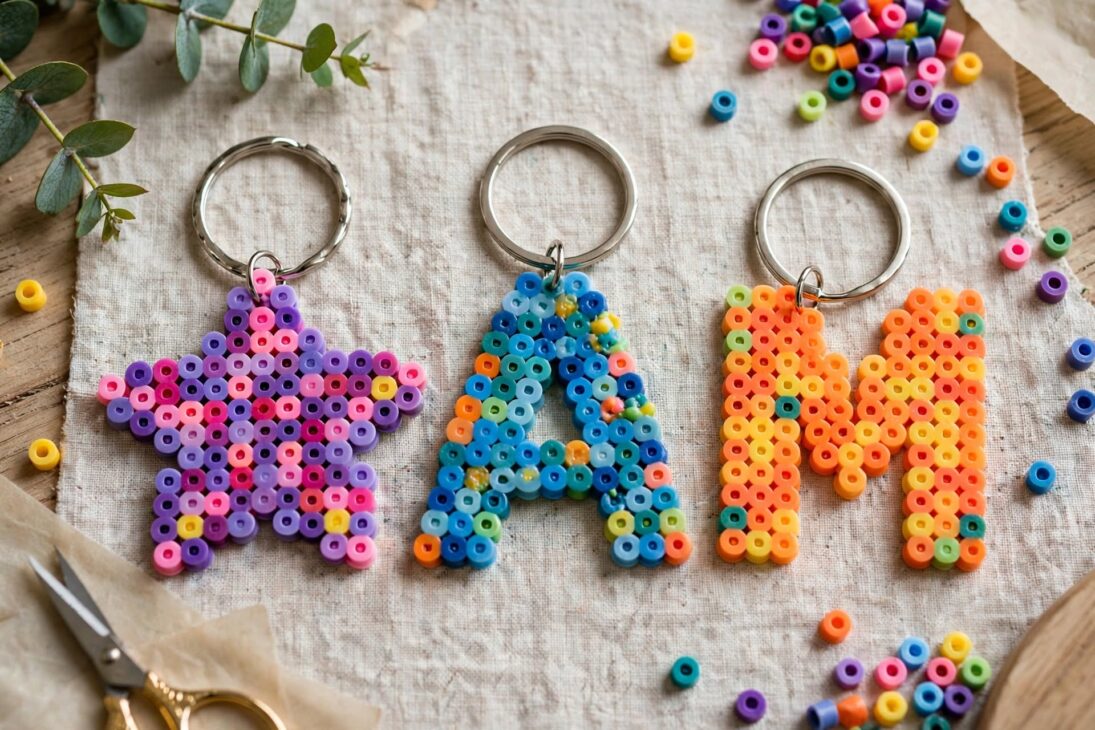
Keep the design under about 15 by 15 beads so the finished piece stays light on a key ring. Bright solid colors read clearly from a distance.
2. Coasters
Round or square coasters protect tables and look cheerful. Use a larger circular or square pegboard and create a solid or patterned design. Fuse both sides thoroughly so the surface feels smooth and strong enough for a glass.
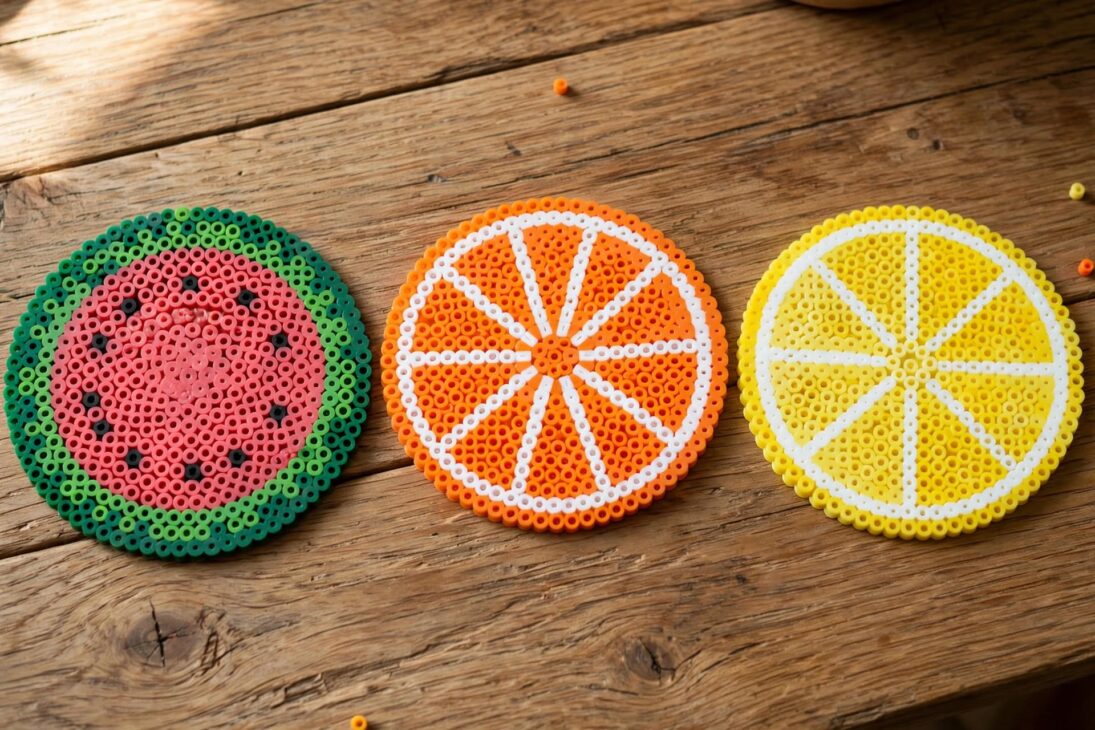
Fruit slices, geometric patterns, and simple color blocks work well. Make a matching set of four for a practical gift.
3. Bookmarks
Create a long narrow design, fuse it, and glue or clip a paperclip or ribbon to one end. Some makers attach the fused piece directly to a metal paperclip so it slides over the page edge.
Simple stripes, mini animals, or a child’s initial keep the project short and useful. These are popular classroom and library crafts.
4. Holiday Ornaments
Stars, trees, snowflakes, candy canes, and mini wreaths all work as ornaments. Leave one bead open or add a small loop of string before or after fusing so you can hang the piece. These make cheerful tree decorations and teacher gifts.
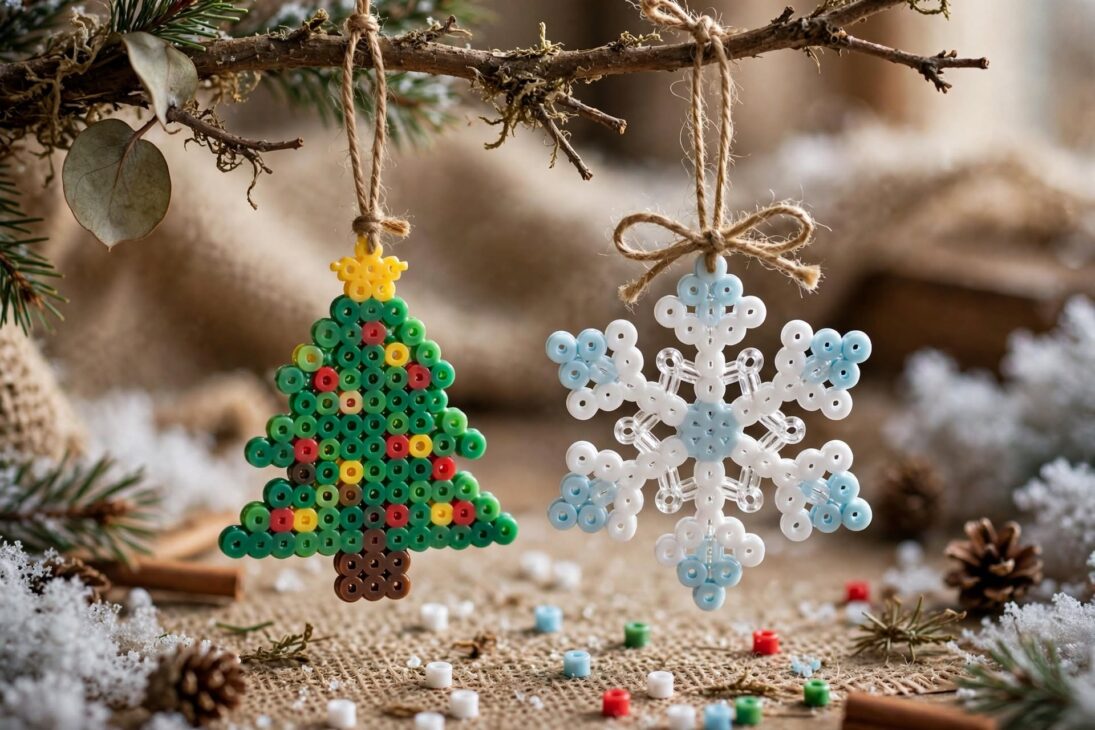
Work on a small board so the finished ornament is not too heavy for thin branches. Metallic or translucent beads add a bit of sparkle under lights.
5. Magnets
Fuse any small design, then glue a strong magnet to the back. Fridge magnets, locker magnets, and whiteboard magnets are all popular. Choose flat designs so the magnet sits evenly.
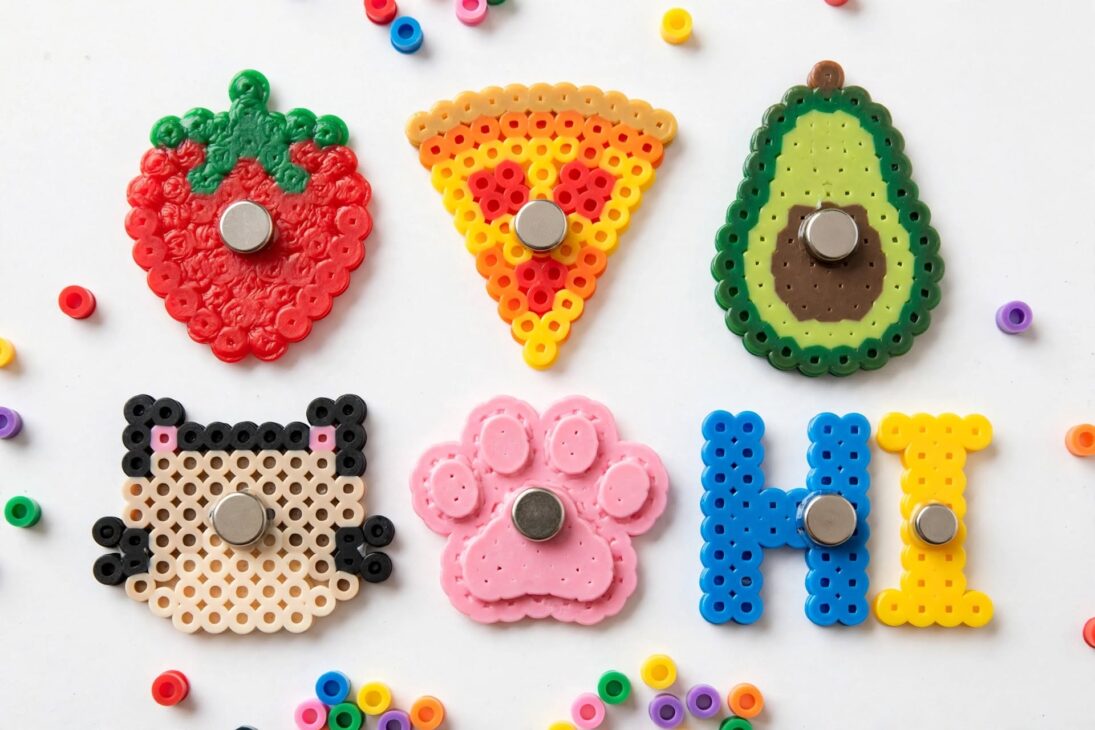
Food icons, animals, and short words are easy wins. Make several in one sitting because the designs stay small.
6. Pixel Characters
Video game and cartoon characters translate naturally into bead grids because they are already pixel based. Start with simple faces or icons that use only a few colors. Minecraft-style blocks, classic game sprites, and emoji faces are common first projects.
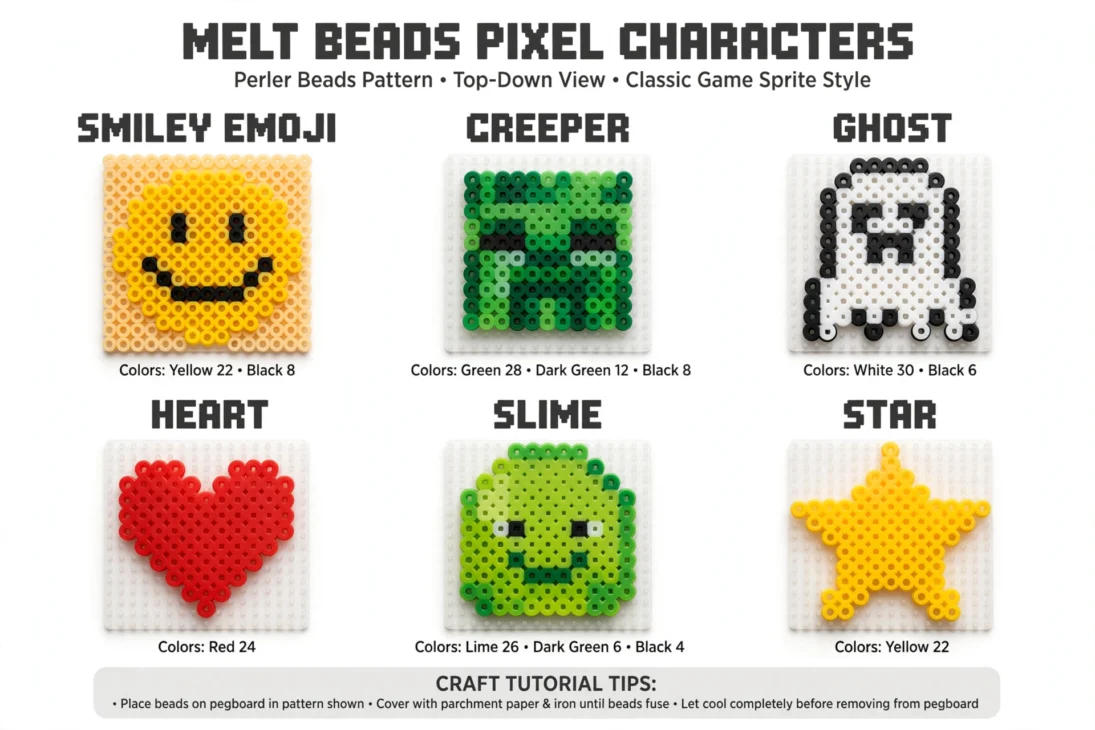
Print or follow a clear pattern so color placement stays accurate. Larger characters may need more than one pegboard joined after fusing.
7. Jewelry Charms
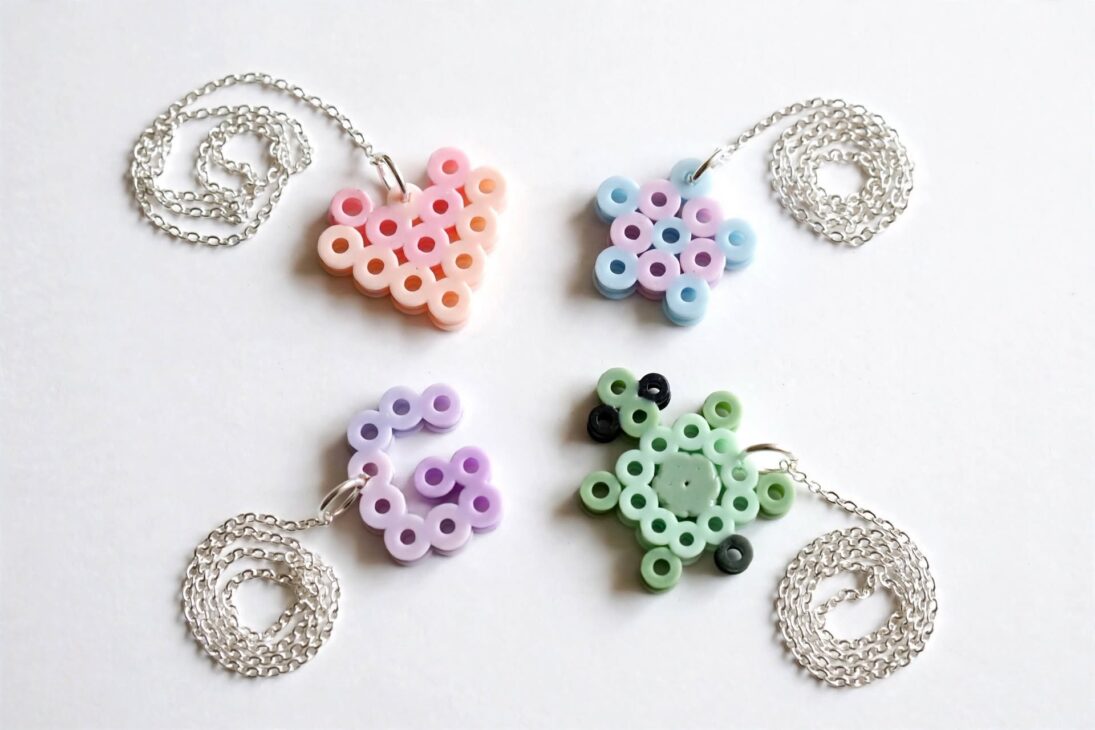
Very small fused shapes become charms for necklaces, bracelets, or bag clips. Use a fine pattern and fuse carefully so the piece stays light. Add a jump ring through an open bead or glue a small bail to the top.
Hearts, stars, tiny animals, and initial letters are reliable choices. These work well for older kids and teens who want wearable results.
8. Sun Catchers
Arrange beads in a single layer on parchment (sometimes without a pegboard) and fuse them into a translucent sheet. Hang the finished piece in a sunny window. Cookie-cutter molds in the oven can also create shaped translucent ornaments.

This method needs careful temperature control and adult supervision. The stained-glass effect is worth the extra attention when light shines through the colors.
9. Mini Animals
Cats, dogs, frogs, birds, and simple farm animals are classic beginner patterns. Most fit on a small square board and use only three or four colors. Fuse, cool, and keep them as toys, bag charms, or desk decorations.
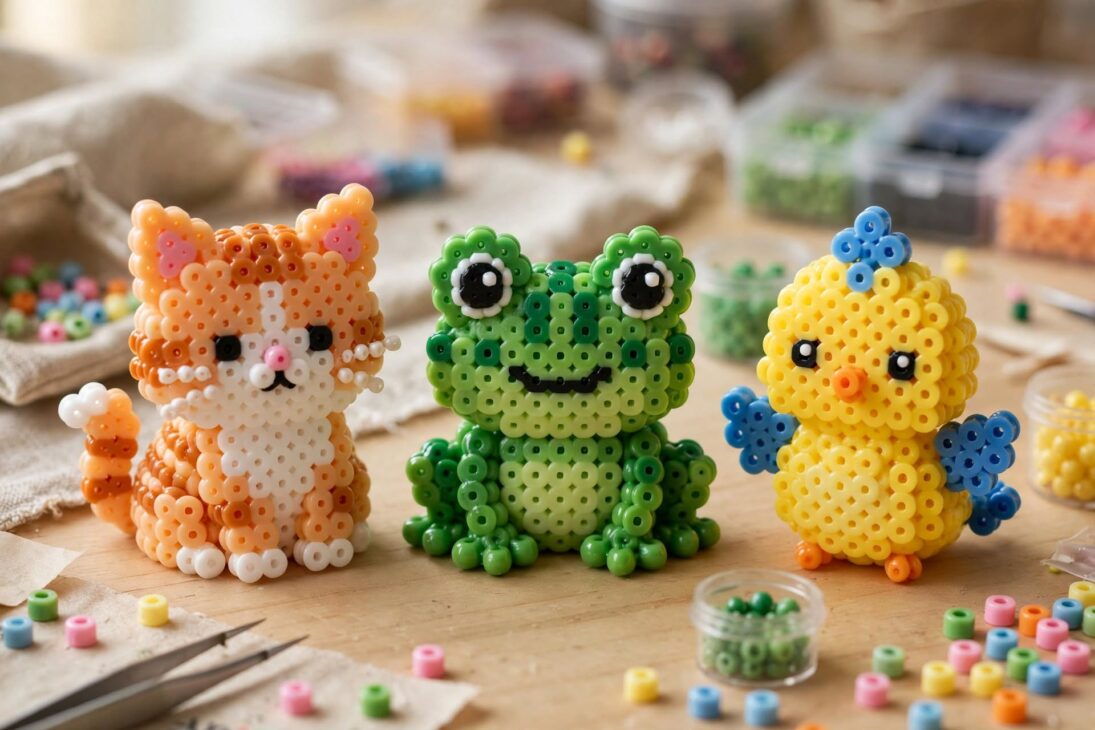
Start with side-view or face-only designs. They teach color placement without the complexity of full characters.
10. Simple Wall Art
Larger geometric patterns, short words, or multi-board scenes can become wall art. Fuse each section, join them if needed, and frame or hang with small clips. Keep the first attempts modest in size so the ironing stays manageable.
Bold color blocks and repeating patterns look clean on a wall. This is a good step up once you are comfortable with medium-sized coasters and characters.
Full Project List
| # | Project | Main Supplies | Notes |
|---|---|---|---|
| 1 | Keychains | Beads, pegboard, key ring | Fast gifts |
| 2 | Coasters | Beads, round board | Fuse both sides well |
| 3 | Bookmarks | Beads, paperclip or ribbon | Narrow designs |
| 4 | Holiday ornaments | Beads, string or ribbon | Add hanger loop |
| 5 | Magnets | Beads, strong magnets | Glue after cooling |
| 6 | Pixel characters | Beads, pattern | Follow color map |
| 7 | Jewelry charms | Beads, jump rings | Keep very small |
| 8 | Sun catchers | Beads, parchment, heat | Adult help advised |
| 9 | Mini animals | Beads, small board | Great for beginners |
| 10 | Simple wall art | Beads, larger boards | Start modest size |
FAQ
What temperature should I use to melt the beads?
Medium heat on a dry iron (around the cotton setting) works for most brands. Keep steam off and move the iron so no single spot overheats.
Can I melt beads without an iron?
Yes. Some people use a hair straightener for small pieces or an oven with parchment and careful timing. Adult supervision is important with any heat method.
What age is best for this craft?
Many children around six and up can place beads with help. The ironing step should always be done or closely supervised by an adult. Larger beads exist for younger kids.
Why did my design curl after ironing?
Uneven heat or cooling without weight can cause curling. Fuse both sides and press the warm piece under a heavy book until fully cool.
Can I wash fused bead items?
Wipe coasters and similar items with a damp cloth. Avoid soaking them for long periods. Most finished pieces are water resistant but not fully waterproof.
Conclusion
These ten easy melt beads ideas give you clear starting points whether you want quick gifts or longer creative sessions. Begin with keychains, mini animals, or bookmarks so you learn the ironing feel on small pieces. Move to coasters and ornaments once the process feels comfortable. Keep parchment paper, a dry medium-heat iron, and a flat cooling surface ready every time. Sort beads by color before you start and follow simple patterns until you feel ready to invent your own. A short practice session this week will give you finished pieces you can use or give away, and the same basic method works for every project on the list.
References
- MakeBead. “How to Melt Perler Beads: 5 Ways (Iron, Oven, Heat Gun).” 2026. https://makebead.com/how-to-melt-perler-beads/
- MakeBead. “How to Iron Perler Beads: Temp, Time & No-Burn Tips.” 2026. https://makebead.com/how-to-iron-perler-beads/
- Kids Activities Blog. “18 Cute & Easy Perler Bead Crafting Ideas.” 2026. https://kidsactivitiesblog.com/63599/18-perler-bead-crafts/
- TheMasterCraft. “15 Easy Perler Bead Crafts to Make at Home.” 2026. https://themastercraft.com/perler-bead-crafts/
- DIY Candy. “The Best Perler Bead Patterns (Over 1,750 Free Designs!).” 2026. https://diycandy.com/best-perler-bead-patterns/
- PerlerPattern. “Minecraft Perler Bead Patterns Collection (Updated 2026).” 2026. https://perlerbeads.co/blog/minecraft-perler-bead-patterns-2026

jessy
Jessy Grace has spent over 5 years researching and writing about household energy, covering everything from gas and electricity tariffs to appliance efficiency and smart meter technology. With a background in [energy consulting / utilities journalism / consumer finance], [he/she/they] specializes in breaking down complex tariff structures, regulatory changes, and cost-saving strategies into practical advice homeowners can actually use. [Author Name]'s work draws on data from official regulators, utility providers, and independent consumer bodies to ensure every guide is accurate and up to date. When not writing, [he/she/they] tests energy-saving products firsthand and stays close to industry shifts, from renewable tariffs to price cap changes, to keep readers ahead of the curve.