

Quick answer: The easiest baby quilt patterns for beginners rely on simple squares, half square triangles, or strip piecing, since these techniques only need straight seams and forgive small measuring mistakes better than curved or intricate designs. A basic patchwork or nine patch quilt is usually the best starting project since it teaches core piecing skills without requiring advanced tools.
A baby quilt is one of the best first projects for a new quilter, since its small size means less fabric, less time, and less room for a mistake to feel overwhelming. The techniques you practice on a baby quilt, like straight piecing, basic quilting lines, and binding, are the same skills you will use on every larger quilt later on. You do not need a huge stash of fabric or advanced tools to get started, just a clear pattern and a bit of patience. Here are 13 easy baby quilt patterns to try, whether you are quilting for the first time or just want a quick, meaningful gift.
Baby Quilt Basics at a Glance
| Technique | Skill Needed | Status |
|---|---|---|
| Simple squares or strip piecing | Straight seams only | Standard |
| Half square triangles | Basic angled piecing | Standard |
| Rag quilt construction | No binding required | Standard |
| Appliqué shapes | Hand or machine appliqué skills | Varies |
| Curved piecing or paper piecing | Advanced, precise measuring | Caution |
| # | Pattern Idea | Best For |
|---|---|---|
| 1 | Simple Squares Quilt | First-time quilters |
| 2 | Nine Patch Quilt | Beginners ready for a step up |
| 3 | Rag Quilt | Fast, no-binding projects |
| 4 | Charm Pack Quilt | Pre-cut fabric users |
| 5 | Half Square Triangle Quilt | Learning angled piecing |
| 6 | Strip Quilt | Fast assembly |
| 7 | Quarter Log Cabin Quilt | Classic look, moderate skill |
| 8 | Color Blocked Quilt | Modern nurseries |
| 9 | Monogram Quilt | Personalized gifts |
| 10 | Sailboat Quilt | Gender-neutral themes |
| 11 | Hourglass Quilt | Simple triangle piecing |
| 12 | Jelly Roll Quilt | Pre-cut strip users |
| 13 | Prairie Points Quilt | Adding dimensional detail |
Rough Time to Piece the Top by Pattern
1. Simple Squares Quilt
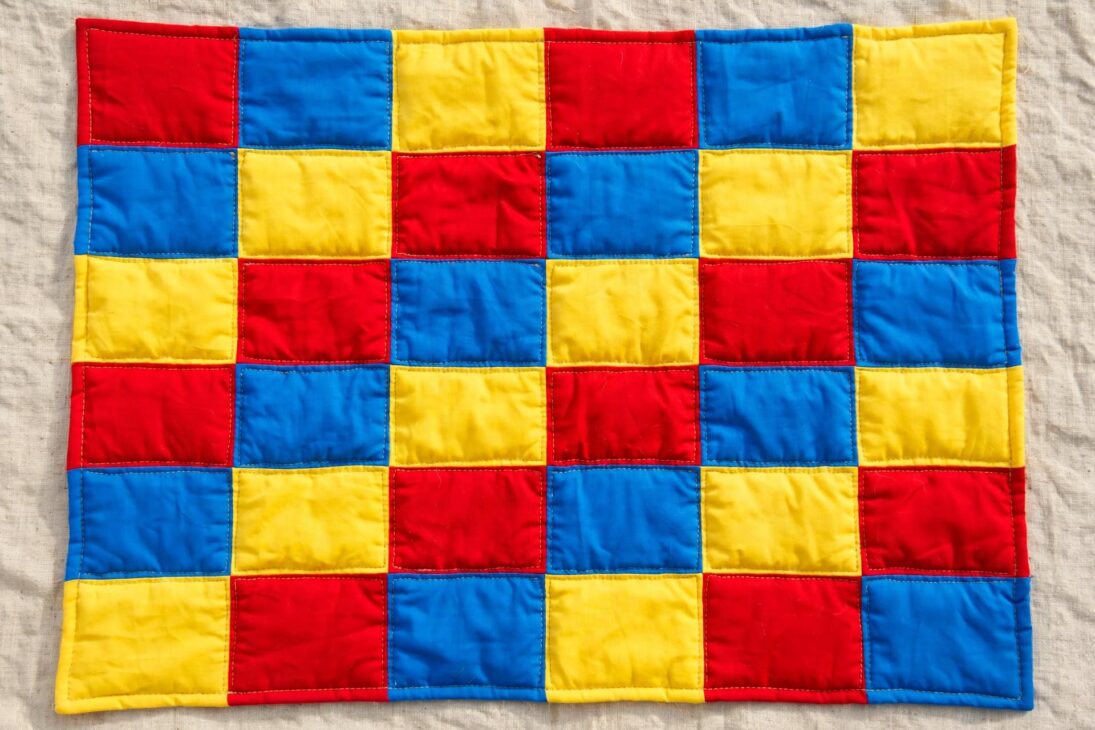
Cut fabric into equal-sized squares, sew them together in rows, then sew the rows together for the most basic quilt top you can make. This pattern is the true starting point for beginners since every seam is straight and every piece is the same shape, which removes most of the guesswork from your first project. Choosing four or five coordinating fabrics and cutting a consistent number of squares from each keeps the layout balanced without needing a complicated plan. Pressing seams open or to one side consistently as you go makes the final top lie much flatter once finished. This pattern is a great way to learn accurate cutting and a consistent seam allowance before moving on to anything with angles.
2. Nine Patch Quilt
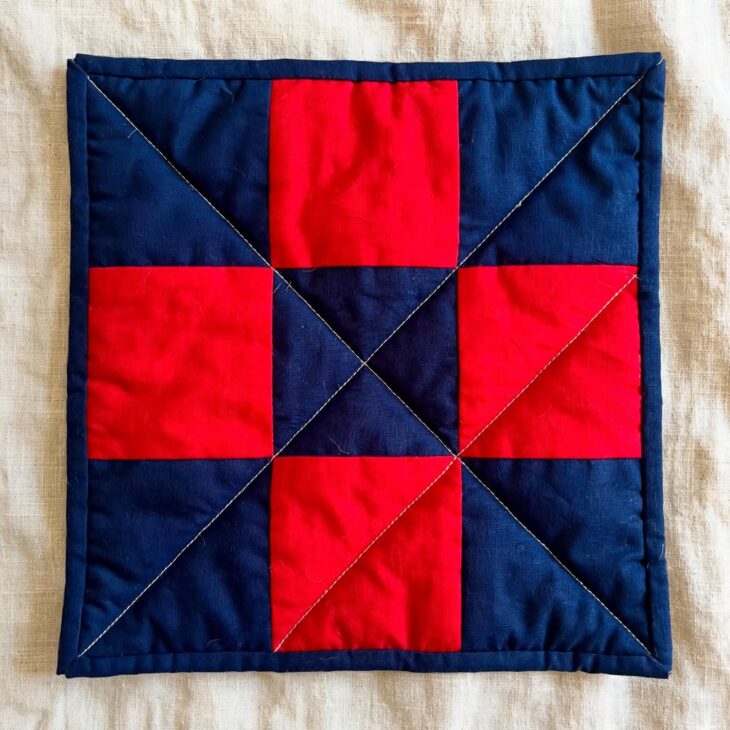
Sew nine squares together in a three-by-three grid to form one block, then repeat and arrange multiple blocks to build the full quilt top. The nine patch is one of the most classic beginner quilt blocks because it teaches basic block construction while still only requiring straight seams. Sewing fabric strips together first, then cutting across the strips, is a common shortcut that lets you piece several nine patch blocks at once instead of sewing individual squares one at a time. Alternating light and dark fabrics within each block creates a classic checkerboard look once the blocks are joined together. This pattern is a natural next step after the simple squares quilt since it introduces basic block assembly.
3. Rag Quilt
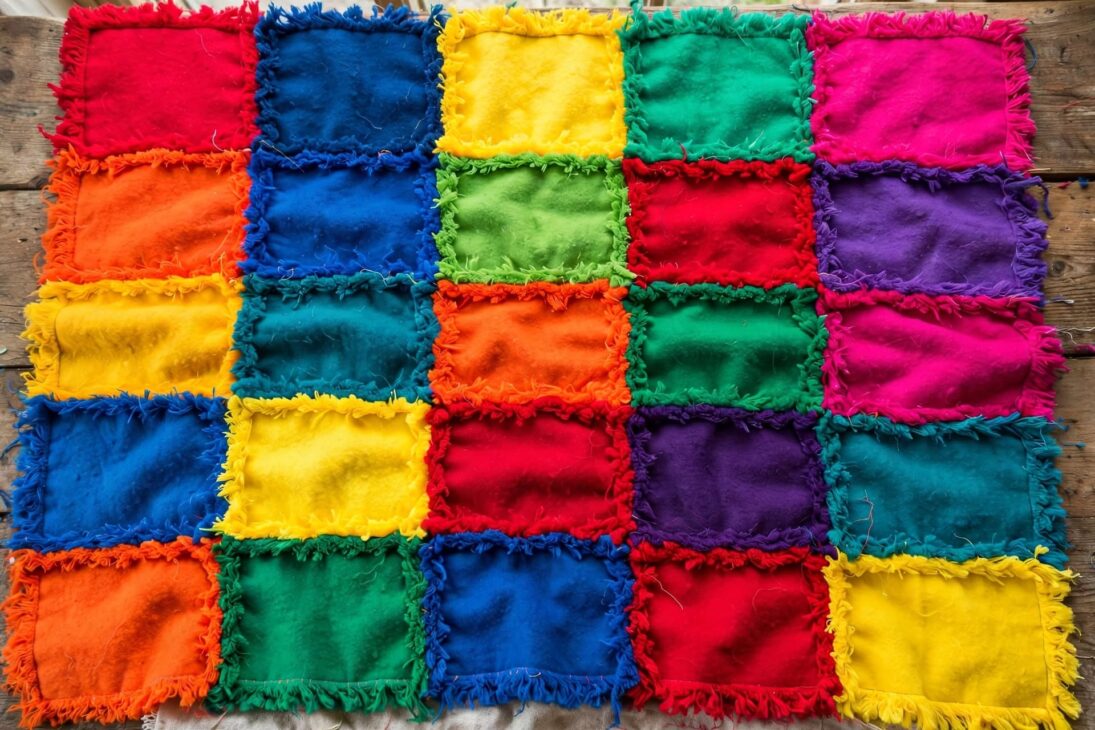
Layer fabric squares with batting between them, sew through all layers with the seams facing out, then clip the edges so they fray into a soft, textured finish. A rag quilt skips traditional binding entirely, which makes it one of the fastest and most forgiving projects for a first-time quilter. Since the seams are meant to be visible and frayed, there is no need to worry about hiding stitches or achieving perfectly matched points. Using a flannel or cotton fabric that frays nicely gives the best texture once the quilt has been washed and dried a few times. This pattern is a good choice if you want a finished quilt quickly, since it removes the more time-consuming binding step altogether.
4. Charm Pack Quilt
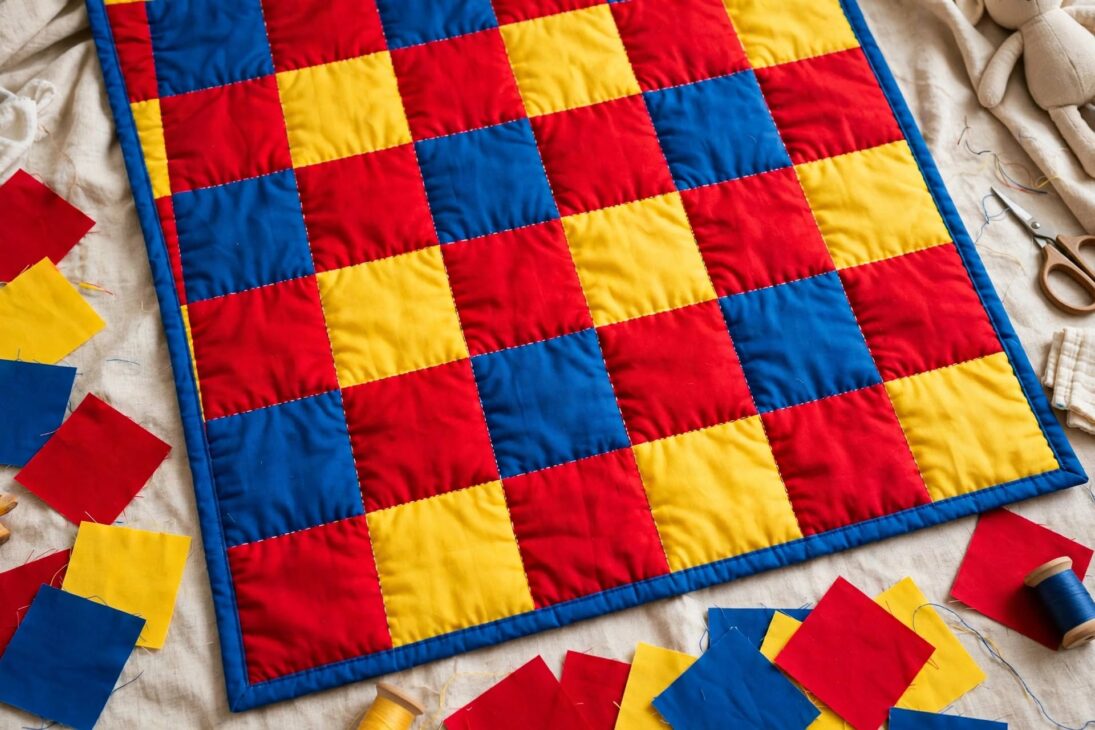
Use a pre-cut charm pack, a bundle of matching five-inch fabric squares, to build a quilt top without needing to cut and coordinate fabric yourself. Charm packs remove one of the most time-consuming parts of quilting, choosing and cutting fabric, since the squares already come pre-cut in a coordinating fabric line. Simply arrange the squares in your preferred layout, sew them into rows, then sew the rows together just like a simple squares quilt. Because charm packs come from a matched fabric collection, the finished quilt automatically looks coordinated without any extra planning. This pattern is especially helpful for beginners who feel overwhelmed by fabric selection and want to focus purely on piecing.
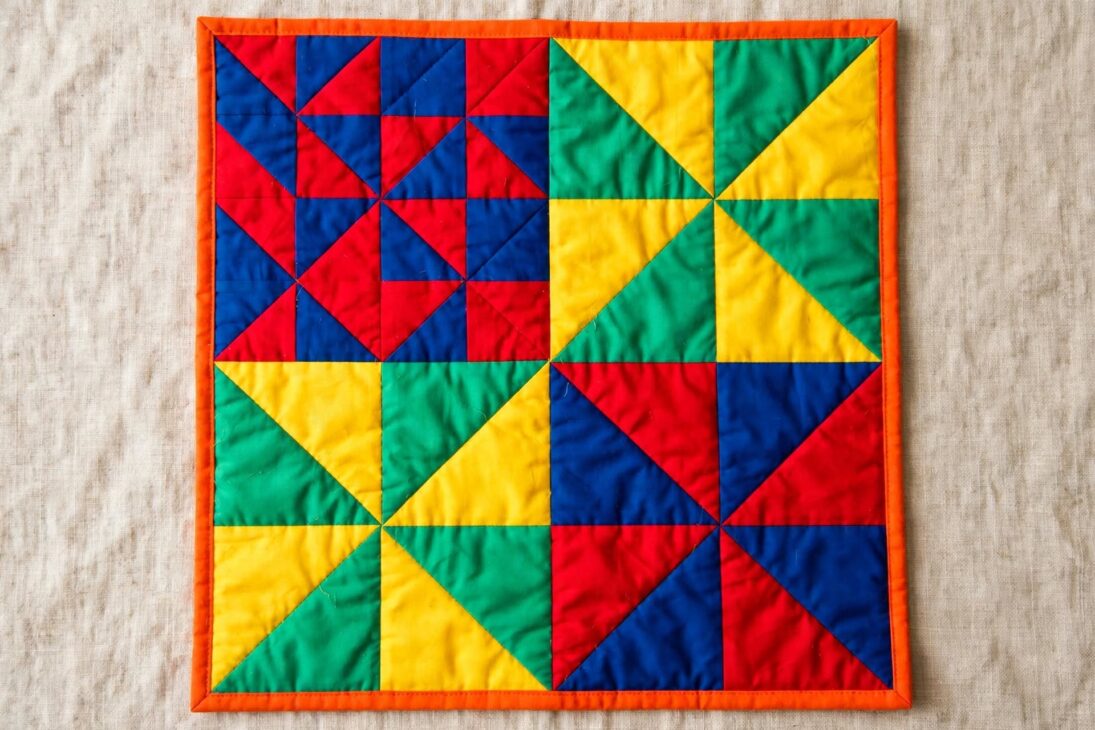
5. Half Square Triangle Quilt
Sew two contrasting squares together diagonally, then cut them apart to form two triangle-pieced squares, which can be arranged into pinwheels, chevrons, or simple triangle grids. Half square triangles are a common next step after basic squares since the technique introduces angled piecing while still relying on straightforward sewing and cutting. Using a specialty ruler or a simple diagonal chalk line helps keep your cutting accurate, which matters more here than in a straight square quilt since points need to line up cleanly. Pressing the seam toward the darker fabric after cutting helps prevent the seam from showing through on the lighter side. This pattern opens up far more design options once mastered, since half square triangles are the building block for many classic quilt layouts.
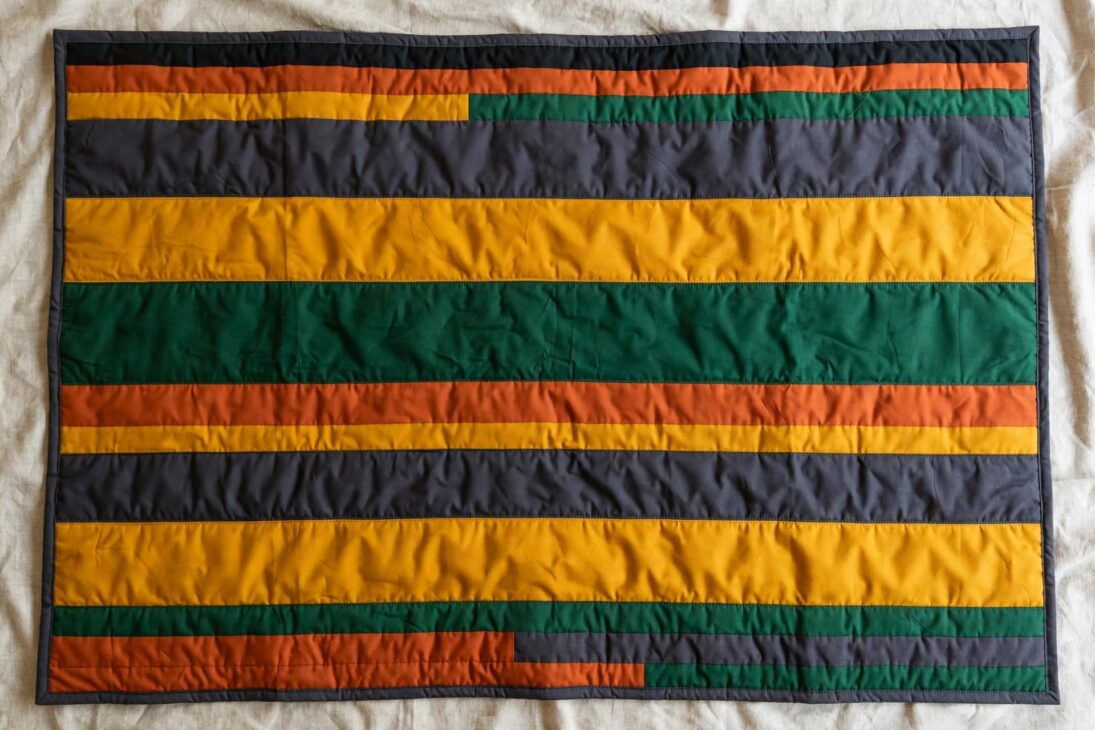
6. Strip Quilt
Sew long strips of fabric together side by side, then trim the pieced panel to the desired quilt size for one of the fastest quilt tops to assemble. A strip quilt requires almost no cutting math beyond determining strip width, which makes it a good project when you want a finished top in just an hour or two of sewing. Varying strip widths, alternating fabric prints and solids, or running strips in different directions can all add visual interest without adding much difficulty. Sewing all the strips into one long seam, then trimming the edges evenly at the end, keeps the process simple and linear from start to finish. This pattern is especially popular for gender-neutral or bold, modern-looking baby quilts.
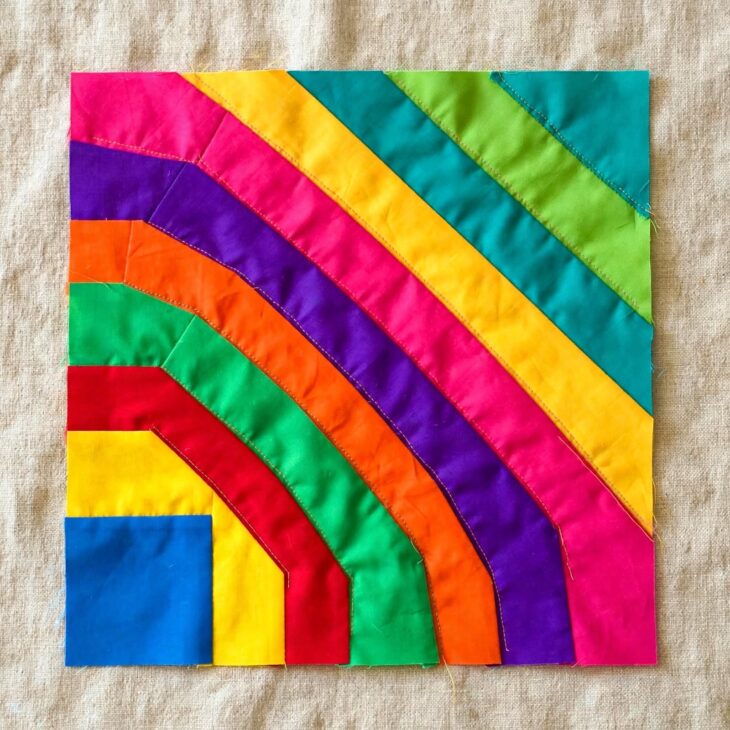
7. Quarter Log Cabin Quilt
Build blocks by sewing progressively longer strips around one corner of a center square instead of surrounding all four sides, creating a classic log cabin look with a bit less piecing than the traditional version. This pattern typically requires only about three yards of fabric total, which makes it one of the more budget-friendly options on this list while still delivering a recognizable, classic design. Sewing strips in a consistent clockwise or counterclockwise order around each center square keeps the blocks uniform once you assemble several of them together. Arranging finished blocks so the light and dark sides face different directions can create secondary patterns, like diagonal stripes, across the full quilt top. This pattern takes a bit more patience than basic squares but is still very approachable for a confident beginner.
8. Color Blocked Quilt
Divide the quilt top into large rectangular color blocks of varying sizes instead of many small repeating pieces, for a bold, modern look with minimal piecing. This pattern works well for a nursery with a specific modern color scheme, since you can plan the exact colors and block sizes to match the room. Sketching your block layout on paper first, then calculating the cut sizes needed for each rectangle, helps avoid measuring mistakes once you start cutting fabric. Because the blocks are large, this pattern actually requires fewer total seams than many small-square patterns, which makes it faster to assemble despite the bold, graphic look. This is a good option for quilters who want a striking result without a lot of repetitive piecing.
9. Monogram Quilt
Feature the baby’s initial as a large appliqué or pieced design in the center of an otherwise simple quilt top for a personalized, keepsake-style gift. A monogram adds a meaningful, custom touch without requiring the entire quilt to be complex, since the surrounding background can stay as simple as a basic squares or strip design. Using fusible web to attach the fabric letter before stitching around the edges makes the appliqué process much easier for beginners than hand-sewing the shape in place. Choosing a bold, simple font for the letter helps it stay readable and clean once appliquéd, rather than getting lost in fine detail. This pattern is especially popular as a baby shower or newborn gift since it feels personal and one-of-a-kind.
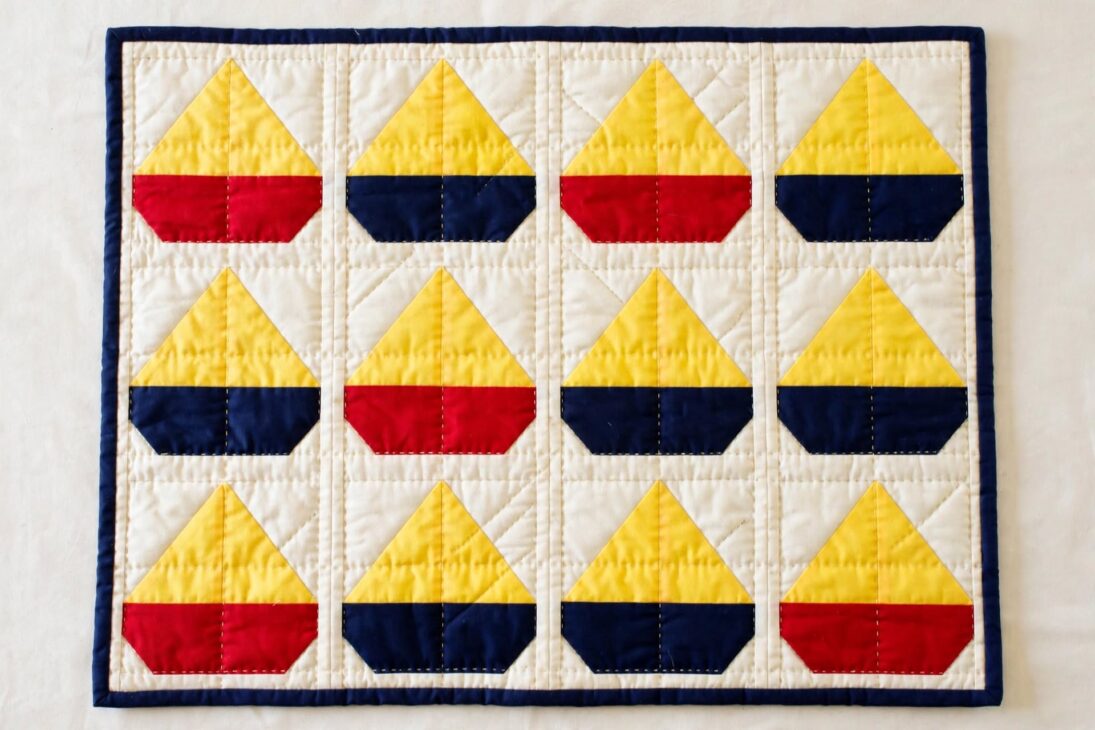
10. Sailboat Quilt
Piece simple triangle sails and rectangle boat hulls using half square and quarter square triangles to create a nautical scene that works well for either a boy or a girl. Sailboat quilts remain popular because the shape is gender-neutral and instantly recognizable, even when simplified into basic geometric pieces. Building each boat as its own small block, then arranging several boats in a row against a plain background fabric, keeps the piecing manageable in sections rather than tackling the whole design at once. Using a mix of solid colors for the sails and hulls, rather than busy prints, helps the boat shapes stay clear and readable from a distance. This pattern is a fun step up once you are comfortable with basic half square triangles.
11. Hourglass Quilt
Combine two half square triangles into a larger hourglass-shaped block, then repeat and arrange the blocks in rows for a simple but eye-catching geometric pattern. The hourglass block builds directly on the half square triangle technique, making it a natural next pattern to try once you are comfortable with that basic piecing method. Alternating the direction of the hourglass shapes, or alternating light and dark placement, can create a range of different visual effects from the same basic block. Because the block relies on straight seams even though it looks more complex, it stays approachable for confident beginners rather than requiring advanced skills. This pattern works especially well in soft pastel colors for a classic nursery look.
12. Jelly Roll Quilt
Use a pre-cut jelly roll, a bundle of matching two and a half inch fabric strips, sewn together into a strip quilt or a simple pieced pattern for fast, coordinated results. Like a charm pack, a jelly roll removes the need to select and cut your own fabric, since the strips already come pre-cut and coordinated from a single fabric collection. Sewing the strips end to end into one long pieced panel, then cutting and rearranging sections, is a common technique that turns simple strips into more dynamic patterns without much extra effort. Because the strips are a consistent width, math and cutting stay simple throughout the whole project. This pattern often ends up slightly larger than a typical baby quilt, which some quilters like since it gives the baby more room to grow into it.
13. Prairie Points Quilt
Fold small fabric squares into triangles, then tuck a row of them into the quilt’s edge before binding for a playful, three-dimensional border detail. Prairie points add texture and visual interest to an otherwise simple quilt top, which makes this a good technique to try once your basic piecing skills feel solid. Folding each fabric square in half twice creates the small triangle “point,” and these are typically inserted into the binding seam so they stand up slightly along the edge. Spacing the points evenly and pressing them well before sewing keeps the finished edge looking neat rather than uneven. This detail works well added to any of the simpler patterns above, like the basic squares or strip quilt, as a way to dress up an otherwise plain design.
How Do You Make a Baby Quilt Step by Step?
Piece your chosen pattern into a finished quilt top, layer it with batting and a backing fabric, quilt through all three layers to hold them together, then finish the raw edges with binding. Working through the layers in this order, often called making a “quilt sandwich,” keeps the batting and backing from shifting once you start quilting through them. Basting the layers together with pins or spray adhesive before quilting prevents puckering and bunching as you sew. A simple straight-line or large grid quilting pattern is one of the fastest finishing techniques for beginners, since it does not require free-motion quilting skills. Binding the edges last gives the quilt a clean, finished border and covers the raw edges of all three layers at once.
- Choose your pattern and cut all fabric pieces to the required sizes.
- Piece the blocks or sections together, pressing seams as you go.
- Sew the finished blocks or sections together into a complete quilt top.
- Layer the top with batting and backing fabric, then baste the layers together.
- Quilt through all three layers using straight lines, a simple grid, or another beginner-friendly design.
- Trim the edges evenly, then attach binding to finish the raw edges.
Frequently Asked Questions
What is the easiest baby quilt pattern for a complete beginner?
A simple squares quilt or a rag quilt are usually the easiest starting points since both rely only on straight seams and forgive small measuring differences. Neither pattern requires angled piecing or advanced techniques to look finished.
What size should a baby quilt be?
Most baby quilts fall somewhere between 30 and 45 inches square, which is noticeably smaller than a throw-sized quilt. This smaller size is part of what makes baby quilts a manageable project for beginners, since less fabric and fewer blocks are needed overall.
Can you make a baby quilt without a sewing machine?
Yes, a baby quilt can be hand sewn, though it will take considerably longer than machine piecing. Many beginners still choose a sewing machine for the piecing and quilting steps, since it speeds up the process significantly on a project with many seams.
What fabric works best for a baby quilt?
100% cotton quilting fabric is the most common choice since it is soft, washes well, and is easy to sew with a standard sewing machine. Flannel is also popular, especially for rag quilts, since it adds extra softness and frays nicely along cut edges.
Do pre-cut fabric bundles like charm packs and jelly rolls save time?
Yes, pre-cut bundles remove the need to select and cut coordinating fabric yourself, which can save a significant amount of prep time. They also help ensure the finished quilt has a cohesive color palette since the fabrics are already designed to work together.
References
- Better Homes & Gardens, “21 Free Quilt Patterns for Babies and Kids” (2022)
- FaveQuilts, “30 Free Patterns For Baby Quilts You’ll Love” (2024)
- Sewing Blog by Caroline Fairbanks-Critchfield, “20 Free Baby Quilt Patterns That Are Sew Adorable” (2024)
- Beginner Sewing Projects, “8 Easy And Free Baby Quilt Patterns” (2025)

jessy
Jessy Grace has spent over 5 years researching and writing about household energy, covering everything from gas and electricity tariffs to appliance efficiency and smart meter technology. With a background in [energy consulting / utilities journalism / consumer finance], [he/she/they] specializes in breaking down complex tariff structures, regulatory changes, and cost-saving strategies into practical advice homeowners can actually use. [Author Name]'s work draws on data from official regulators, utility providers, and independent consumer bodies to ensure every guide is accurate and up to date. When not writing, [he/she/they] tests energy-saving products firsthand and stays close to industry shifts, from renewable tariffs to price cap changes, to keep readers ahead of the curve.