

Quick Answer
Quick answer: Unique handmade greeting card ideas blend simple folding mechanics with tactile paper elements like quilled paper shapes, hand-stitched borders, fabric appliques, and pop-up windows. Using sturdy 100-pound cardstock ensures your handmade creation holds up through shipping and stays upright on display.
Sending a handmade greeting card is one of the most thoughtful ways to celebrate milestones, express gratitude, or share holiday cheer. Modern papercraft designs combine simple household supplies with creative layouts to make memorable folded cards for any occasion. From interactive slider pull tabs to elegant watercolor wreaths, crafting personalized stationery is fun and accessible.
Below is a summary table detailing fourteen adaptable greeting card ideas, featuring primary crafting techniques and recommended occasions for each.
| Item Number | Greeting Card Design Concept | Occasion Type | Crafting Technique |
|---|---|---|---|
| 1 | Interactive Slider Pull Tab | Birthday / Celebration | Paper Mechanics |
| 2 | Gatefold Accordion Panel | Anniversary / Wedding | Accordion Folding |
| 3 | Cutout Pop-Up Window | Thank You / General | Die-Cut & Layering |
| 4 | Pressed Leaf Silhouette | Autumn / Sympathy | Botanical Mounting |
| 5 | Gold Leaf Foil Accent | Holidays / Milestone | Adhesive Foiling |
| 6 | Hand-Stitched Thread Border | Thinking of You | Embroidery on Paper |
| 7 | Botanical Wreath Watercolors | Spring / New Home | Wet-on-Wet Painting |
| 8 | Fabric Patchwork Applique | Baby Shower / Get Well | Textile Collage |
| 9 | Origami Crane Envelope Card | Good Luck / Graduation | Paper Folding |
| 10 | Quilled Paper Floral Center | Mother’s Day / Birthday | Paper Coiling |
| 11 | Calligraphy Monogram Seal | Wedding / Formal | Brush Lettering |
| 12 | Mini Envelope Pocket Card | Gift Card / Secret Note | Pocket Construction |
| 13 | Bleached Kraft Paper Sketch | Rustic / All-Occasion | Opaque Ink Drawing |
| 14 | Stenciled Geometric Pattern | Modern / Minimalist | Sponge Stenciling |
1. Interactive Slider Pull Tab
Slider cards feature a movable tab that pulls a hidden message or image into view through a paper slot. This playful mechanical action creates an engaging surprise for the recipient when opening their card.
Cut a horizontal slot across the front panel using a craft knife and steel ruler. Attach a sliding paper strip behind the window using double-sided foam tape channels to guide the path. Write your main greeting on the sliding panel so it reveals itself smoothly when pulled.
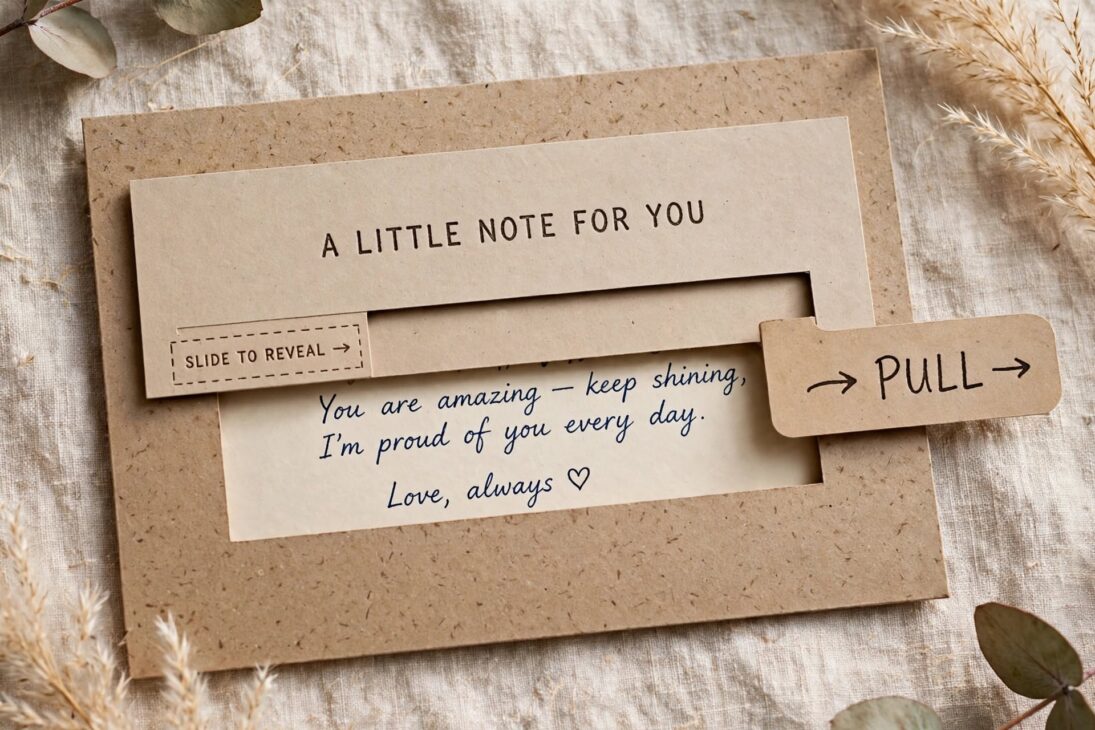
According to paper mechanics guides from Scrapbook.com, keeping a one-millimeter clearance between foam tape tracks prevents sliding tabs from catching on paper edges.
2. Gatefold Accordion Panel
Gatefold cards open from the center like double doors, unfolding into a multi-panel accordion layout. This structural format offers extra room for longer handwritten notes, photo collages, or group signatures.
Score a twelve-inch piece of heavy cardstock four inches from each end, folding both outer flaps inward so they meet precisely in the middle. Fasten the front doors with a decorative paper belly band or a tied satin ribbon loop.
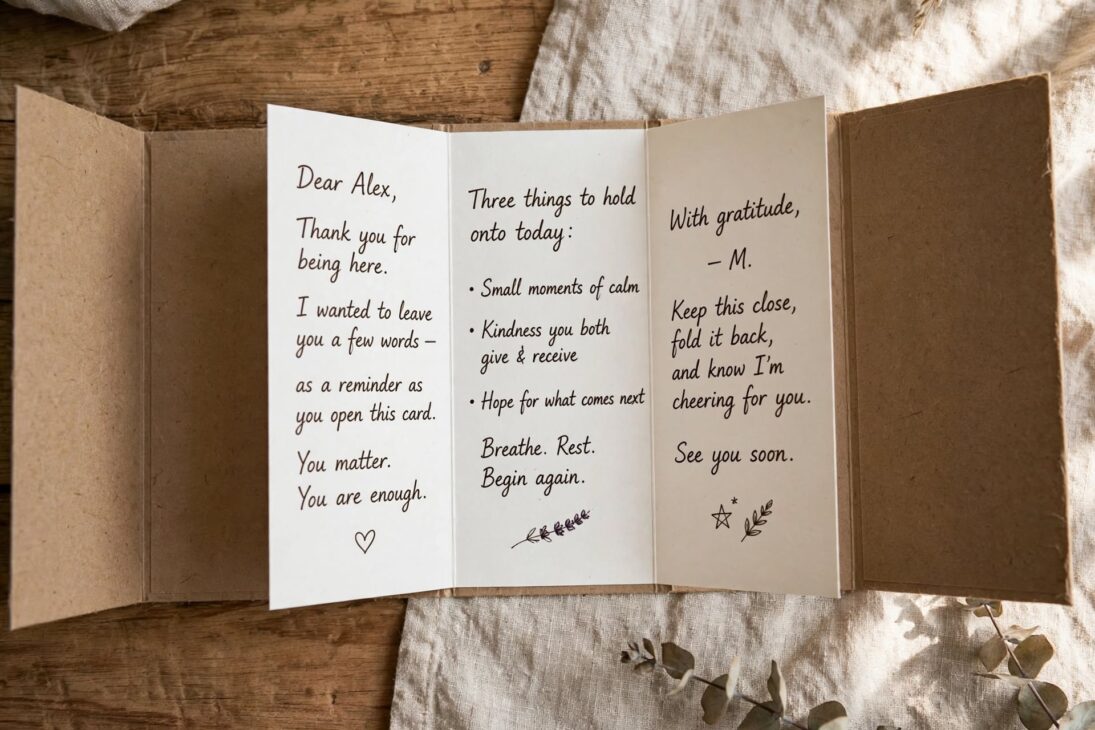
Design tutorials on YouTube by Paper Crafter Studio show that scoring paper with a bone folder before folding creates crisp, professional edges without cracking decorative fibers.
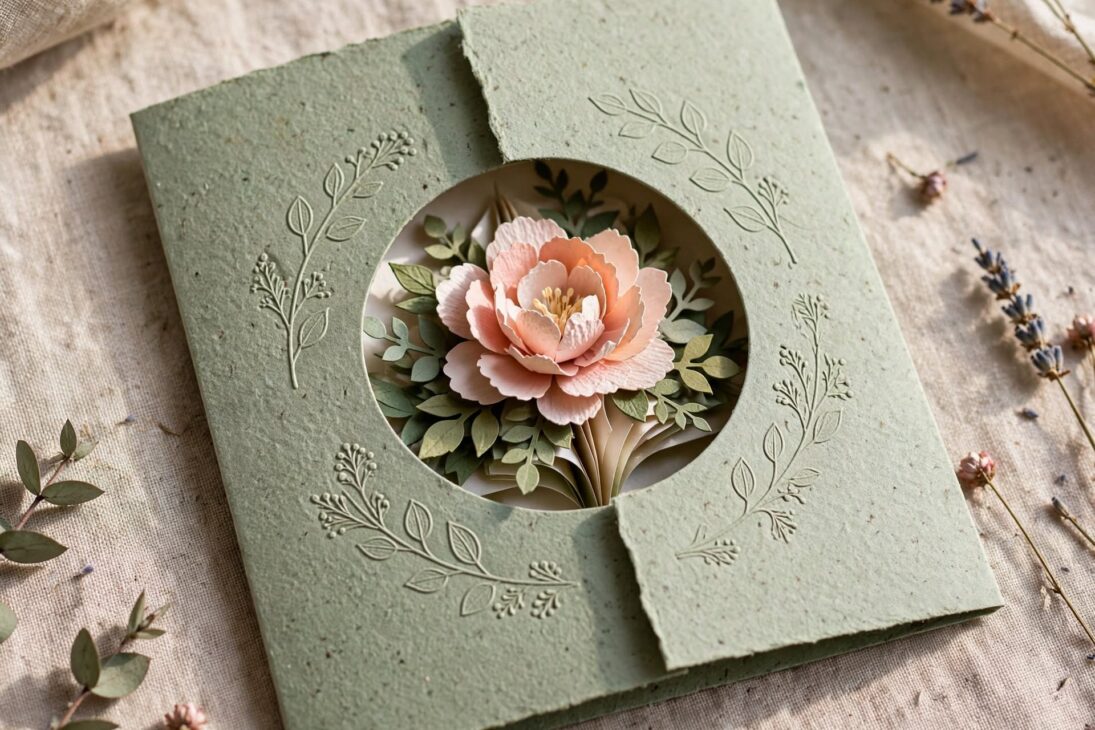
3. Cutout Pop-Up Window
Creating a die-cut window on the front cover allows a glimpse of an internal illustration before the card is even opened. A layered pop-up element behind the window adds captivating three-dimensional depth.
Punch or cut an arch or circle opening near the upper middle of your card cover. Mount your main decorative motif onto folded internal paper steps so it aligns directly with the cutout window when closed.
According to papercraft guides from The Spruce Crafts, using contrasting paper colors between the outer cover and inner pop-up structure makes the central cutout image stand out clearly.
4. Pressed Leaf Silhouette
Mounting natural dried autumn leaves onto neutral cotton paper offers an organic, earthy feel. Pressed maple, ginkgo, or fern leaves create elegant seasonal greetings suitable for autumn events and thank you notes.
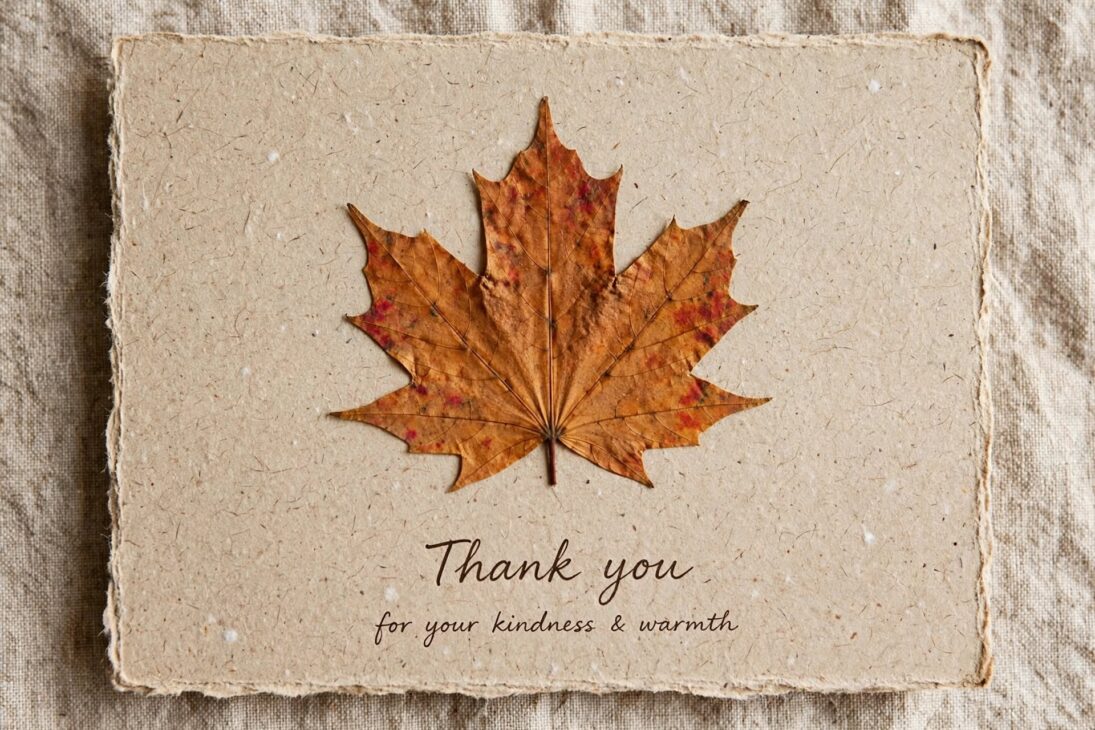
Press fresh fallen leaves flat inside heavy books between sheets of wax paper for several days. Glue the dried leaf onto heavy linen cardstock using matte liquid adhesive applied with a small paintbrush.
Botanical craft reviews from Martha Stewart Crafts note that coating delicate pressed leaves with a thin layer of matte decoupage sealant protects them from crumbling over time.
5. Gold Leaf Foil Accent
Applying genuine gold leaf metallic flakes gives handmade cards a luxurious shine. Metallic accents caught along paper edges or hand-drawn motifs upgrade simple cards for milestones and holiday wishes.
Brush gilding size or craft glue onto specific areas of your cardstock using a thin detail brush. Allow the adhesive to turn tacky for two minutes before pressing thin gold foil sheets onto the surface with a soft dry brush.

Stationery analysis from Paperless Post indicates that organic, deckled foil edges remain a popular trend for high-end wedding and anniversary greetings.
6. Hand-Stitched Thread Border
Stitching colorful embroidery floss directly onto paper adds charming textile warmth. A simple running stitch or French knot detail around the card margin frames your message with unique tactile texture.
Pierce evenly spaced guide holes along the card perimeter using a pushpin or piercing tool. Thread a sharp embroidery needle with three strands of cotton thread, sewing through the prepunched holes in a straight line.
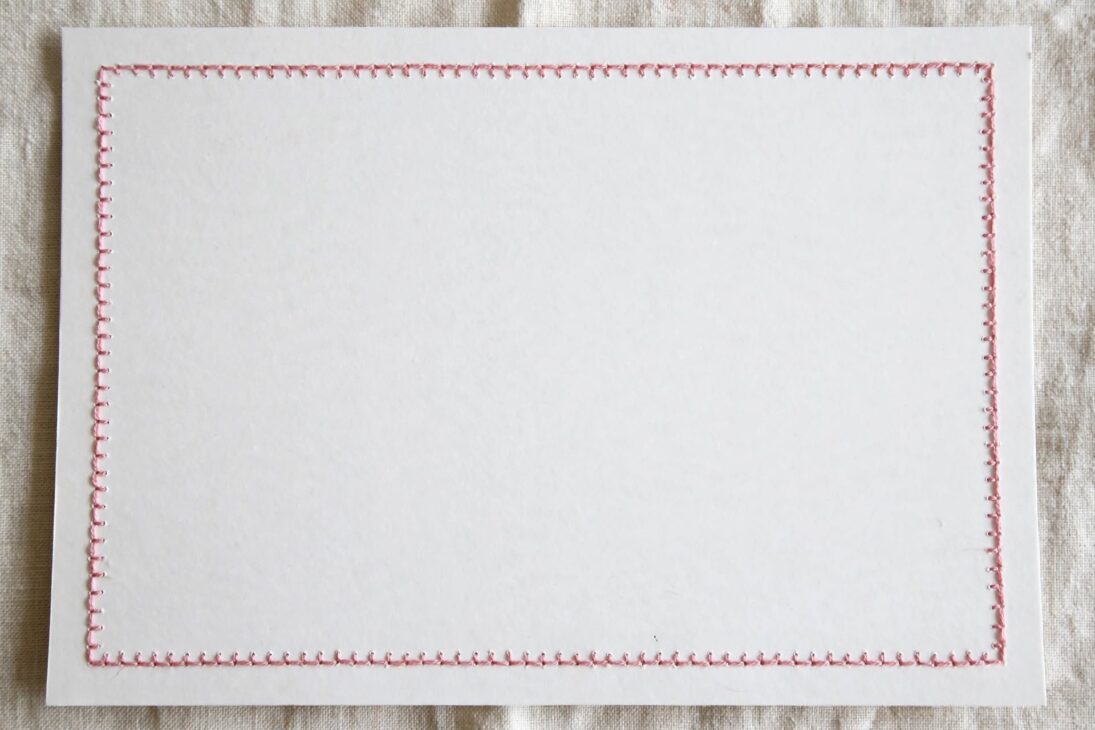
Crafting tutorials on YouTube by DG Handmade suggest placing a foam mat under your paper when punching needle holes to prevent bending or creasing the cardstock.
7. Botanical Wreath Watercolors
Hand-painted watercolor wreaths provide a gentle, artistic border around central greetings. Painting leafy eucalyptus branches or floral vines in a soft circle creates a adaptable card suitable for spring events and birthdays.
Lightly trace a circular outline onto watercolor paper using a jar lid and pencil. Paint small leaf stems along the guide path using wet-on-wet green and olive watercolor pigments, allowing colors to blend naturally before adding lettering.
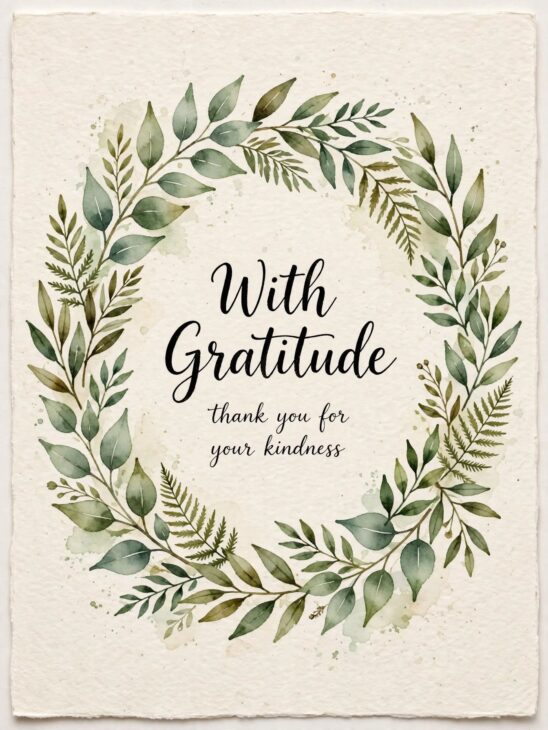
Papercraft guides from Card Making World recommend letting the watercolor wreath dry completely before hand-lettering with waterproof ink to avoid smudging.
8. Fabric Patchwork Applique
Reusing fabric scraps like linen, denim, or cotton floral prints brings cozy textile charm to card covers. Cutting simple fabric shapes like hearts, stars, or tiny banners gives plain paper a sweet, handmade aesthetic.
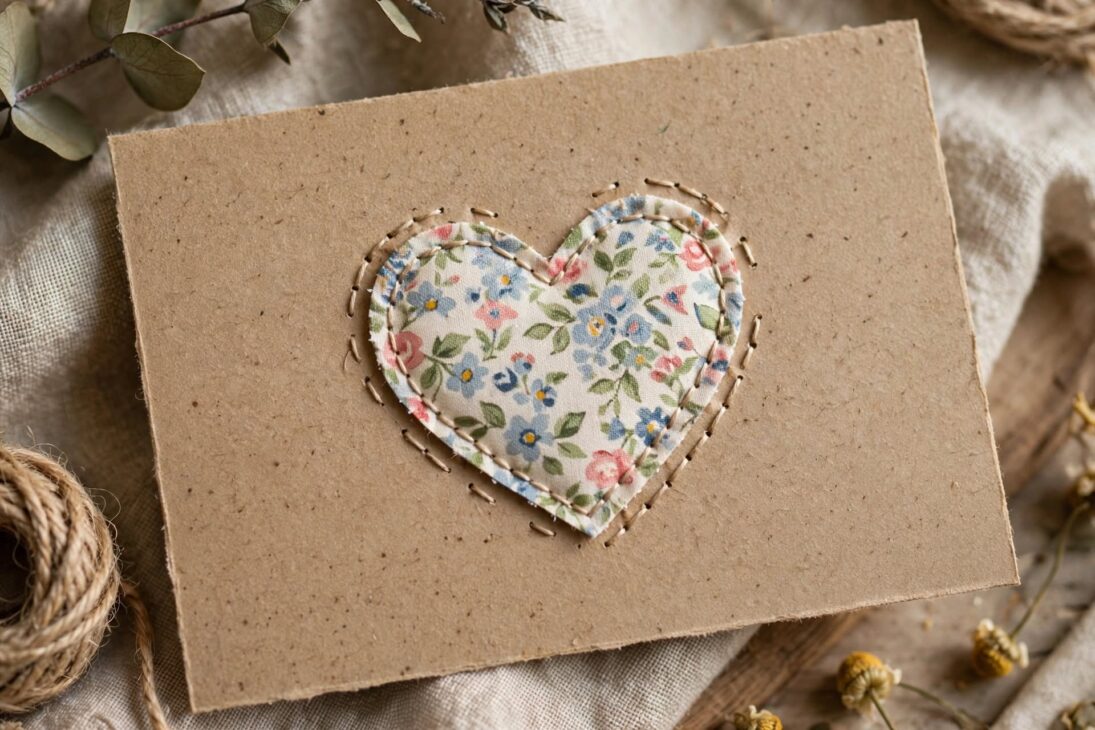
Back your fabric scraps with fusible web adhesive before ironing them onto cardstock for clean, fray-free edges. Adhere the cutouts to the card cover and add faux hand-stitching lines around the border with a fine gel pen.
According to upcycling guides on Craftsy, using small pinking shears to cut fabric patches adds charming zigzag edges that prevent loose threads.
9. Origami Crane Envelope Card
Folding a paper greeting into a self-contained origami crane or envelope eliminates the need for an extra mailing sleeve. The recipient unfolds the paper figure to read the hidden message inside.
Write your message across the central square of a piece of patterned origami paper. Follow traditional origami folding steps to form a decorative bird or pocket, keeping the written text tucked safely on the interior folds.
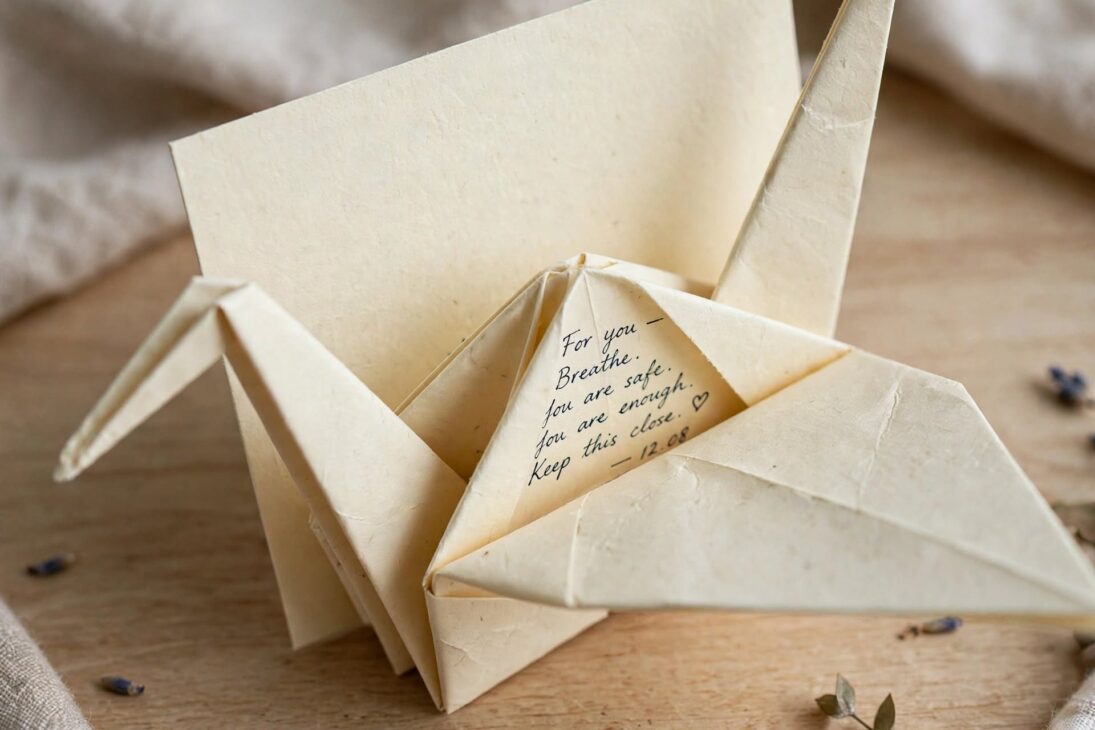
Origami tutorials from K4 Craft show that lightweight 70 GSM paper holds detailed geometric folds far better than heavy cardboard sheets.
10. Quilled Paper Floral Center
Paper quilling involves rolling narrow paper strips into tight coils and shaping them into three-dimensional flowers. Mounting coiled paper blooms onto heavy cardstock creates an eye-catching sculptural display.
Roll three-millimeter paper strips using a slotted quilling tool, pinching the coils into teardrop leaf and petal shapes. Arrange the rolled pieces into a flower cluster on your card cover, securing each coil with small drops of clear liquid glue.
Quilling guides published by Papercraft Society note that quilled paper cards are best presented in padded envelopes or box frames to protect their raised 3D shapes.
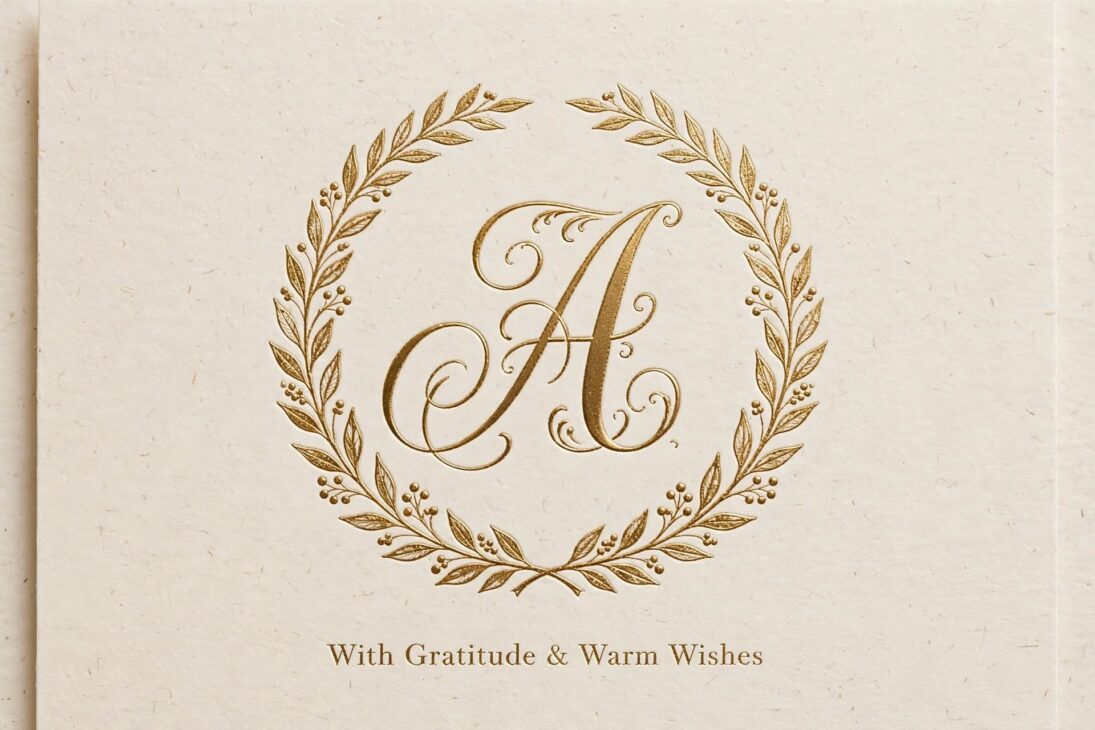
11. Calligraphy Monogram Seal
A single bold calligraphic initial centered on heavyweight cotton paper offers a classic, personalized design. Framing the letter with a delicate laurel ring or wax seal creates a timeless card ideal for formal occasions.
Sketch your letterform lightly with a pencil before filling in thick downstrokes using a flexible brush pen or dip pen. Erase pencil lines once dry and accent the letter with a touch of metallic gold gel pen along the shadow edge.
According to lettering resources at Printed.com, personalized monogram cards remain a top choice for wedding thank you notes and professional greetings.
12. Mini Envelope Pocket Card
Adhering a tiny paper envelope to the interior or front cover of a card creates a sweet pocket for holding gift cards, secret notes, or confetti. This interactive pocket adds an element of fun discovery.
Fold a small two-inch paper square into a mini envelope, securing three flaps with glue while leaving the top flap open. Glue the pocket onto your card face and tuck a tiny handwritten note card inside.
Craft ideas from Scrapbook & Cards Today accent mini pocket cards as one of the most practical designs for giving cash, gift cards, or surprise tickets.
13. Bleached Kraft Paper Sketch
Sketching bold illustrations with opaque white ink on unbleached brown kraft paper delivers a charming rustic feel. The high contrast between white ink and brown paper makes simple line drawings stand out instantly.
Select heavy 300 GSM kraft cardstock for sturdy support. Draw snow-covered pine trees, botanical stems, or party balloons using a thick 1.0-millimeter white gel pen or acrylic paint marker.
Papercrafting tips from The Spruce Crafts recommend layering white gel pen ink twice over kraft paper to build extra brightness and opacity.
14. Stenciled Geometric Pattern
Using reusable stencils and soft ink sponges creates repeating geometric or floral backgrounds in seconds. This quick technique provides consistent, professional-looking pattern covers for any celebration.
Secure a plastic pattern stencil over your cardstock using low-tack painter’s tape. Dab pigment ink gently through the openings using a dense foam blending tool, working from the outer edges inward.
According to stencil tutorials on Card Making World, using a light dabbing motion rather than wiping prevents liquid ink from bleeding underneath stencil edges.
Frequently Asked Questions
What glue is best for making handmade paper cards?
Clear PVA craft glue and permanent double-sided tape runners work best for paper cards. Double-sided tape prevents paper warping, while clear PVA glue provides a strong bond for heavy embellishments like buttons, ribbons, or fabric patches.
How can I fold cardstock cleanly without cracking the paper fold?
Score the cardstock along your planned fold line using a bone folder and ruler before bending the paper. Scoring creates a clean crease groove that guides the fold without cracking outer paper fibers.
What size envelope fits standard handmade greeting cards?
An A7 envelope measuring 5.25 by 7.25 inches fits standard 5 by 7 inch folded cards perfectly. An A2 envelope measuring 4.375 by 5.75 inches fits smaller quarter-fold cards.
Conclusion
Crafting handmade greeting cards offers a fulfilling way to connect with friends and family through personal, creative papercrafts. Whether you prefer interactive slider pull tabs and pop-up windows or subtle botanical pressed leaves and hand-stitched borders, these fourteen ideas demonstrate that stunning stationery does not require complex machinery. By choosing durable 100-pound cardstock, mastering clean fold lines with a bone folder, and incorporating tactile materials like satin ribbons, quilled coils, or wax seals, you can upgrade simple paper into a lasting keepsake. Pick a design concept that matches your favorite occasion, gather your basic crafting tools, and enjoy bringing your unique card ideas to life.
References
- The Spruce Crafts. “15 Creative DIY Greeting Card Ideas for Any Occasion.” 2025. https://www.thesprucecrafts.com/diy-greeting-card-ideas-4158901
- Paperless Post. “Stationery Trends and Papercraft Design Inspiration.” 2026. https://www.paperlesspost.com/blog/stationery-trends-guide/
- Scrapbook.com. “Cardmaking Techniques and Interactive Paper Folding Guides.” 2025. https://www.scrapbook.com/articles/cardmaking-techniques
- Martha Stewart Crafts. “Guide to Preserving Leaves and Botanical Card Decor.” 2025. https://www.marthastewart.com/botanical-card-decor-guide
- Printed.com. “Handmade Card Ideas and Modern Paper Embellishments.” 2026. https://www.printed.com/blog/handmade-card-ideas/

jessy
Jessy Grace has spent over 5 years researching and writing about household energy, covering everything from gas and electricity tariffs to appliance efficiency and smart meter technology. With a background in [energy consulting / utilities journalism / consumer finance], [he/she/they] specializes in breaking down complex tariff structures, regulatory changes, and cost-saving strategies into practical advice homeowners can actually use. [Author Name]'s work draws on data from official regulators, utility providers, and independent consumer bodies to ensure every guide is accurate and up to date. When not writing, [he/she/they] tests energy-saving products firsthand and stays close to industry shifts, from renewable tariffs to price cap changes, to keep readers ahead of the curve.