

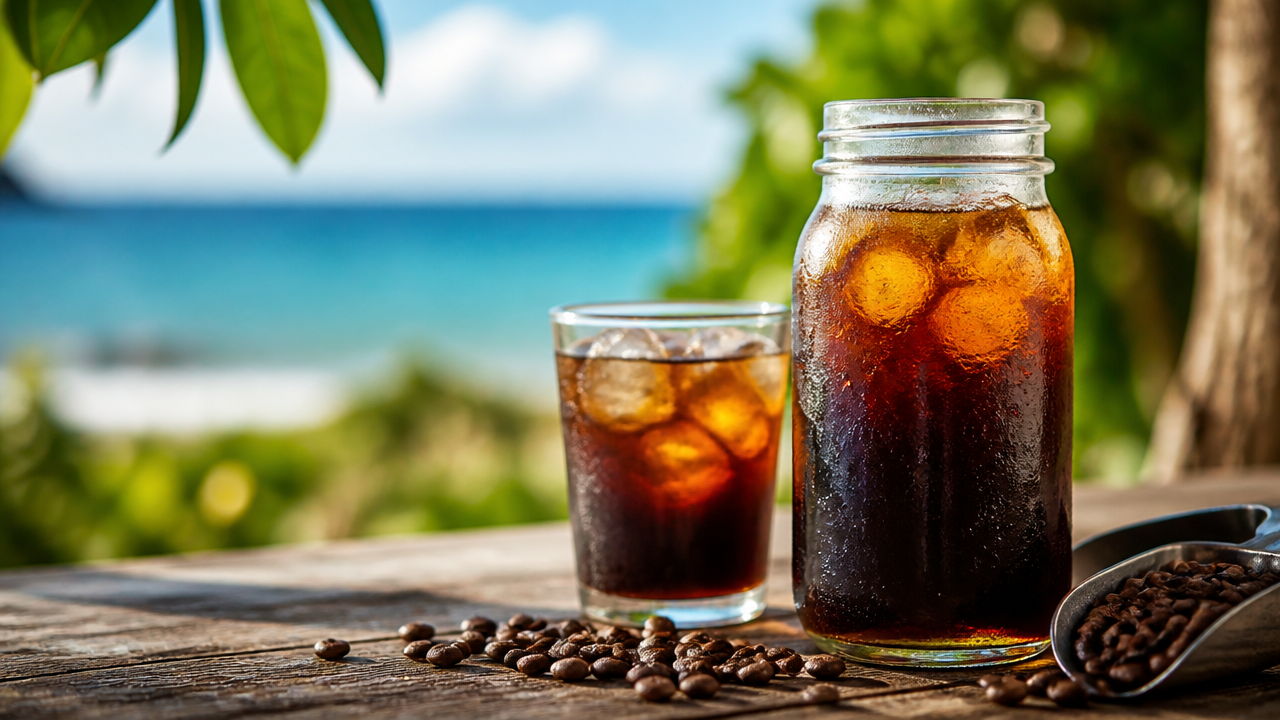
What makes a truly great cold brew coffee stand out from every other iced coffee you have tried during the sweltering heat of summer? The secret lies in a patient extraction process that replaces heat with time, resulting in a cup that is remarkably smooth and naturally sweet. Making premium cold brew coffee requires nothing more than high-quality beans, plenty of water, and a bit of patience while the extraction happens. Mastering this cold brew routine allows you to enjoy a café-quality beverage whenever you want, whether you are hosting a morning brunch featuring a Classic Microwave Cake Recipe or simply enjoying a quiet moment on your porch. Let’s look at how to get the ratios exactly right for your next batch.
Quick Questions and Answers
Question: Why is cold brew coffee better for summer than regular coffee? Answer: Cold brew uses cold water and steeps for 12 to 24 hours, creating a smoother, less acidic drink that tastes refreshing in hot weather. Unlike hot-brewed coffee cooled down, it avoids bitter notes and pairs perfectly with ice, milk, or sweet syrups for summer enjoyment, making it a staple for warm afternoons.
Question: Can I make cold brew coffee in the fridge instead of room temperature? Answer: Yes, you can brew cold coffee in the fridge, though it requires a longer steep time of 18 to 24 hours compared to 12 to 24 hours at room temperature. Brewing in the fridge helps prevent bacteria growth while still extracting the full flavor of coarse grounds during the slow infusion process.
Question: Do I need special equipment to make homemade cold brew coffee? Answer: You only need basic items like coarsely ground coffee, cold water, a container (Mason jar, French press, or bucket), and a filter (cheesecloth, paper filter, or pillowcase). No special brewing machine is required, making it an easy DIY recipe for summer that yields professional results with standard kitchen pantry items.
Key Takeaways
- Steeping coarse grounds in cold water for 12 to 24 hours produces a concentrate that is low in acidity and bitterness.
- Filtering your brew thoroughly ensures a smooth, grit-free cup that rivals professional coffee shop versions.
- Always dilute your finished concentrate with water or milk, as drinking it straight is often too intense for most palates.
What You Need
| Item | Purpose | Notes |
|---|---|---|
| Coarse Coffee Grounds | Extraction | Must be coarse; fine grounds make it bitter. |
| Filtered Water | Flavor Base | Eliminates chlorine or mineral tastes from tap. |
| Glass Jar or Pitcher | Vessel | Must be large enough to hold grounds and water. |
| Fine-Mesh Strainer | Initial Separation | Catches the bulk of the grounds efficiently. |
| Cheesecloth | Final Polish | Removes fine sediment for a clean mouthfeel. |
Step 1: Grind your coffee beans to a coarse consistency, similar to sea salt.
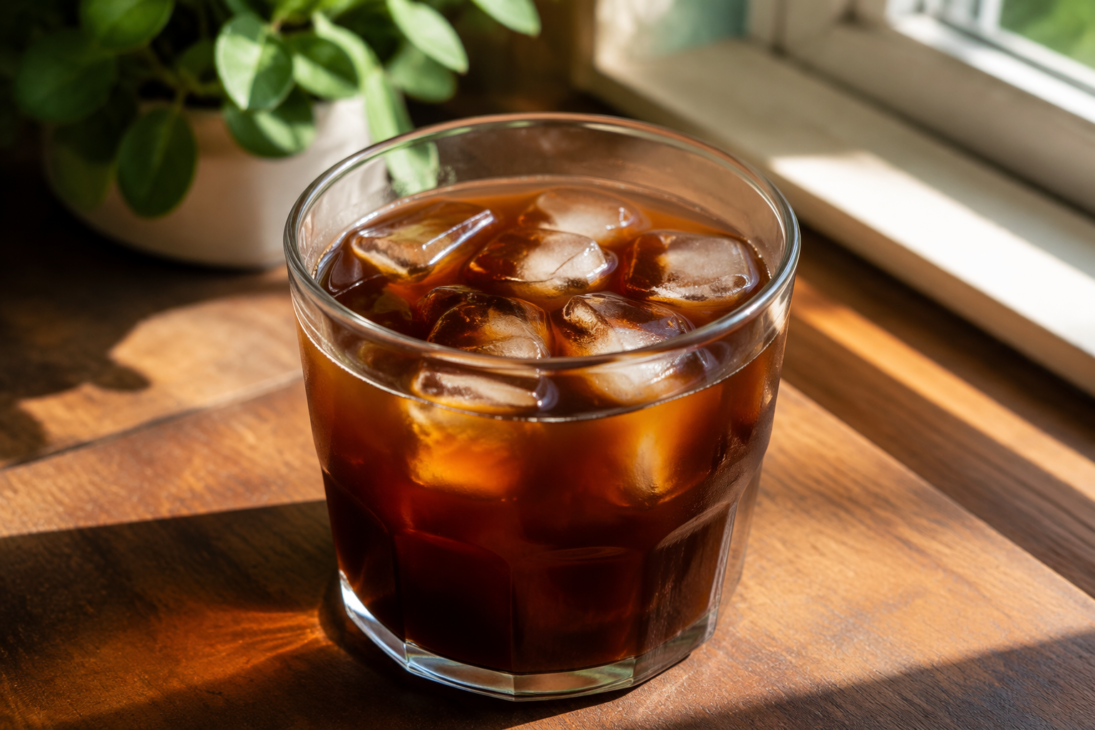
Freshly grinding your coffee beans immediately before brewing is the best way to ensure maximum flavor extraction. You should aim for a texture that looks like coarse sea salt or large breadcrumbs. If the grind is too fine, the water will over-extract the bitter compounds, leading to an unpleasant, astringent flavor profile. According to Love and Lemons, using coarse grounds is the most important step for achieving that signature balanced, smooth taste that cold brewing is famous for. If you do not have a dedicated burr grinder, a simple blade grinder used in short pulses will work as long as you watch the consistency carefully.
Step 2: Combine the grounds and cold (or room-temperature) filtered water in your container; basic ratios can be adjusted to your desired strength.
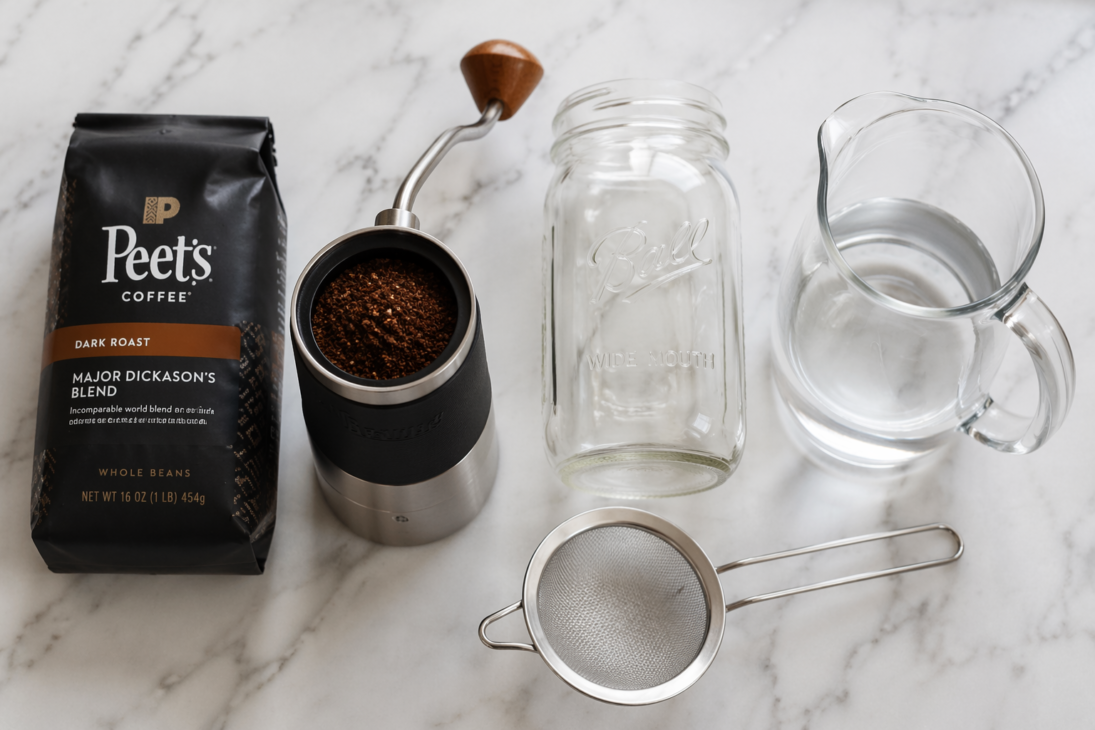
Once you have your grounds, place them into your clean glass jar or pitcher. Simply pour your filtered water over the grounds, ensuring they are all evenly saturated. While some people start their brewing at room temperature, using cool, filtered water from the start is a safe and effective way to ensure the final drink tastes fresh. Simply Recipes notes that the slow infusion over many hours pulls out the rich coffee essence without the harsh oils that arise during hot brewing. Using filtered water is crucial, as any impurities in your tap supply will end up concentrated in your final jar. If you are serving this alongside a Festive Apple Cake Moist Recipe, the clean flavor of the cold brew will balance the richness of the dessert perfectly.
Step 3: Steep the mixture for 10 to 20 hours; the slow interaction between water and beans pulls out caffeine and flavor while omitting bitter compounds.
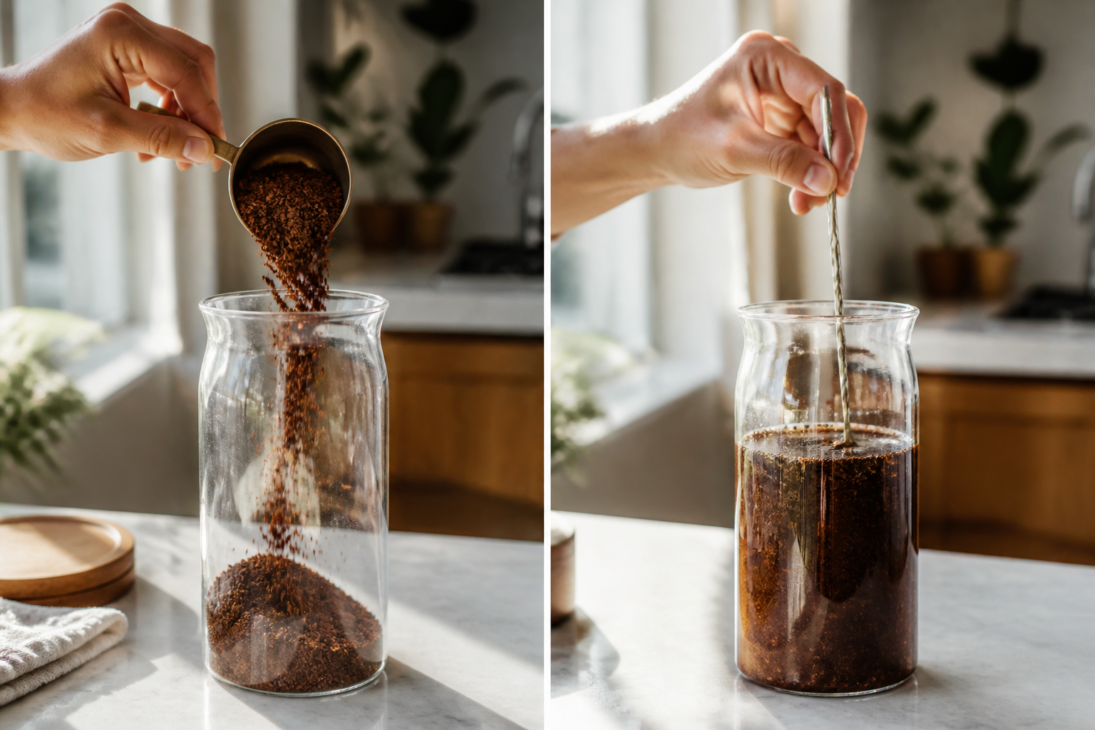
This is the phase where the magic happens. Let your mixture sit on your counter or in the refrigerator for at least 10 to 20 hours. I usually find that the 16-hour mark hits the sweet spot for a bold, smooth body. Research from the National Coffee Association suggests that cold brewing relies on time, not heat, to extract the natural sugars and essential oils from the bean. Because you are not using boiling water, you avoid the chemical reaction that causes the rapid breakdown of flavor-altering acids. Be careful not to exceed 20 hours, as prolonged steeping eventually allows the beans to lose their bright notes and become flat or woody.
Step 4: Strain the grounds thoroughly using a fine-mesh sieve or cheesecloth to create the final concentrate.

After your time is up, it is time to harvest your liquid gold. Place your fine-mesh sieve over a clean container and pour the coffee through it slowly. Most of the grounds will stay in the sieve. For an even cleaner texture, line that sieve with a layer of cheesecloth or a standard paper coffee filter to catch the tiny fines that might slip through. The result in your container is a strong coffee concentrate. You have successfully removed the grounds, so you can discard them into your compost bin. According to Fork in the Kitchen, this concentrate is much more flexible than standard brewed coffee, as you can store it effectively to use throughout your busy work week.
Important Safety and Storage Tips
Never leave your batch sitting on the counter indefinitely once it has finished brewing. Spoilage is a real concern, so always transfer your finished concentrate into a sealed glass bottle and place it directly into the refrigerator. According to Martha Stewart, keeping it chilled consistently will maintain the quality and safety of the concentrate for up to 5 days. It is also helpful to stick a piece of tape with the date on your jar so you can track its freshness. Treat this concentrate like a raw ingredient: keep it simple, cold, and sealed tightly to prevent any absorption of other refrigerator odors.
Common Mistakes to Avoid
The most frequent error people make is using pre-ground coffee acquired from the grocery store aisle. Most pre-ground bags are designed for standard drip machines, which have a much finer grind size that will clog your filters and leave your brew tasting muddy and bitter. Another common pitfall is the failure to dilute the final drink. Because cold brew is a concentrate, it packs a significant punch. Treating it as a ready-to-drink beverage without adding water or milk will likely result in a sensory overload of caffeine that is far too intense for most people to enjoy.
Troubleshooting Your Brew
If you find that your first batch tastes too astringent, take a look at your beans. High acidity often comes from fine particles escaping the filtration process or grounds that were simply too fine to begin with. Try using a double layer of paper towels or a thicker coffee filter if your current setup allows sediment through. If the batch feels too weak, you might be using too much water. Adjust your ratio for the next round by adding an extra tablespoon of coffee beans or cutting the water back by half a cup. Remember, this is a highly forgiving method, and minor tweaks will get you exactly where you want to be.
FAQs
Q: Can I use different types of coffee beans?
Yes, you can absolutely experiment with beans from different regions to find your favorite flavor profile. Some enthusiasts prefer light, fruity roasts for a summer brew, while others enjoy deep, chocolatey dark roasts that hold up well against heavy cream or almond milk. The choice is yours.
Q: Can I customize the strength?
Customization is one of the biggest advantages of this method. If you prefer a lighter drink, simply dilute your concentrate with more water or ice as you serve it. For a stronger kick, use less diluent. You are the master of your own caffeine level here.
Q: How do I clean the equipment?
Cleaning is rarely a headache with this process. Most professional cold brew makers are entirely dishwasher safe. If you are using a standard Mason jar or pitcher, a quick wash with hot, soapy water immediately after you empty your grounds ensures everything is ready to go for your next morning routine.
My Experience With Summer Cold Brew Coffee Recipe
I once made the mistake of leaving my first batch of cold brew on the counter for nearly 30 hours. Expecting a robust flavor, I was met with a cup so woody and dull that I honestly thought my beans had gone bad. That was the moment I realized that “slow” does not mean “unlimited.” Cold brew is a delicate balance of timing and patience; if you leave it too long, you are really just extracting the bitterness that you tried to avoid in the first place.
Technically speaking, the science of extraction is fascinating; by keeping the water cold, you bypass the extraction of acidic oils that usually require heat to dissolve. It creates a cleaner palate for additions like vanilla or even a dash of salt to reduce perceived bitterness. My best batches usually hit the 16-hour mark before I force myself to strain them. I also find that using a glass carboy makes the whole process feel more deliberate and rewarding. Once you have a batch ready, it feels like winning a small victory every single morning. Have you tried adding a cinnamon stick to your grounds yet, or do you prefer your brew plain?
Conclusion
Mastering cold brew at home is a skill that saves money and elevates your morning routine. By using coarse grounds and giving the process enough time, you secure a smooth, delicious base for any number of summer beverages. Keep your beans fresh, keep your water filtered, and remember to store your concentrate in the fridge. This simple, consistent habit transforms how you look at your daily caffeine intake.
Latest Updates
As of 2026, the trend in home brewing has shifted toward precision ratios rather than guesswork. More enthusiasts are switching to a 1:8 weight ratio for a true concentrate, allowing for more space in the glass for ice and flavorful additions like oat milk or house-made simple syrups.
References
- Simply Recipes. (n.d.). Now’s the Time to Master Cold Brew Coffee at Home. https://www.simplyrecipes.com/recipes/how_to_make_cold_brew_coffee/
- National Coffee Association. (n.d.). How to Brew Coffee. https://www.ncausa.org/About-Coffee/How-to-Brew-Coffee
- Downshiftology. (n.d.). Easy Cold Brew Coffee Recipe. https://downshiftology.com/recipes/how-to-make-cold-brew-coffee/
- Martha Stewart. (n.d.). How to Make Cold Brew Coffee, According to the Pros. https://www.marthastewart.com/7843793/how-make-cold-brew-coffee-at-home
Recipe Card
Perfect Summer Cold Brew Concentrate
A smooth, low-acid coffee concentrate perfect for hot summer days.
Prep: 10 minutesCook: 16 hoursTotal: 16 hours 10 minutesYield: 4 cups concentrateCategory: BeverageCuisine: American
Ingredients
- 1 cup coarsely ground coffee beans
- 4 cups cold filtered water
Instructions
- Combine the coarse coffee grounds and filtered water in a large glass pitcher or jar.
- Stir gently until all grounds are moistened.
- Cover the container and let it steep at room temperature or in the refrigerator for 12 to 20 hours.
- Strain the mixture through a fine-mesh sieve into a clean container, discarding the grounds.
- Line the sieve with a cheesecloth or paper filter and strain a second time to remove fine sediment.
- Store the resulting concentrate in a sealed jar in the refrigerator for up to 5 days.
- To serve, mix 1 part concentrate with 1 part water or milk over fresh ice.
Nutrition Info (per serving)
| Calories | 5 |
| Protein | 0.5g |
| Carbs | 1g |
| Fat | 0g |
| Fiber | 0g |
| Sugar | 0g |
| Sodium | 5mg |
Notes
- Use a coarse grind to avoid bitterness.
- Adjust the ratio of coffee to water based on your preferred caffeine strength.
